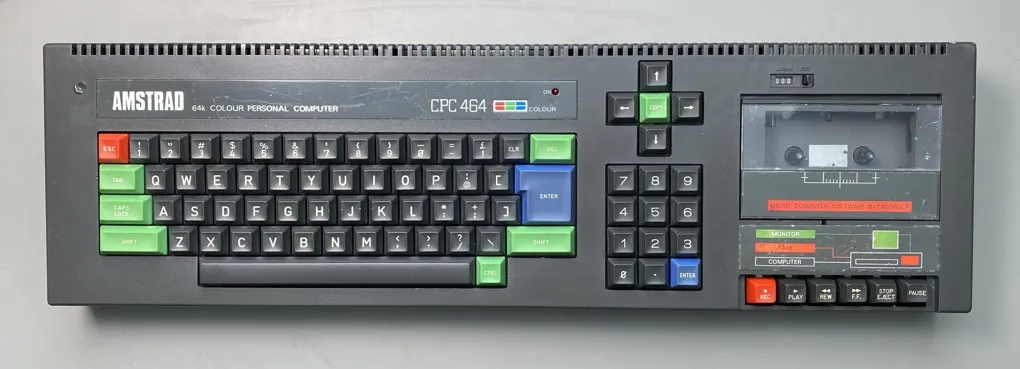
Next on the workbench is an Amstrad CPC 464, a British computer from 1984. I purchased this computer from eBay several months ago but when it arrived I took one look at the state it was in and decided to wrap it up in the bubble wrap it arrived in and put it in the back of the cupboard. After finishing the restoration on the two Atari ST computers it was time to put on some rubber gloves and take a second look at this computer from the 8-bit era of the 1980s.
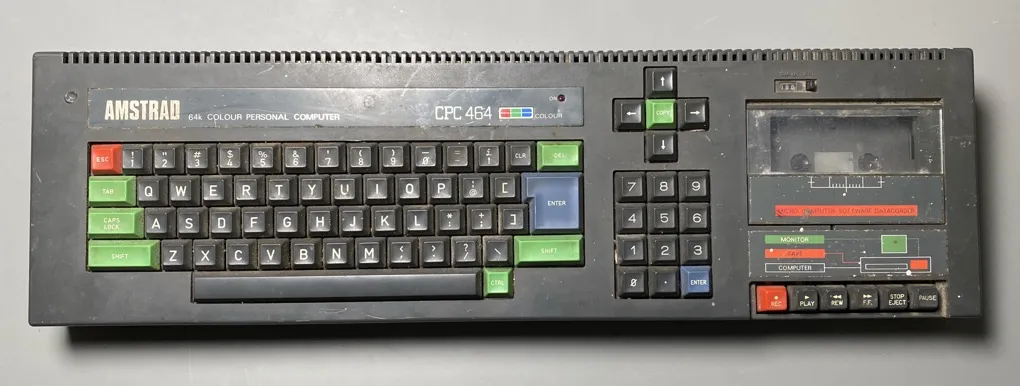
The Amstrad CPC 464 as it arrived.
A brief history of the Amstrad CPC 464
Amstrad PLC was a British electronics company, founded in 1968 by Alan Sugar, better know today for his role in the British version of the TV show The Aprentice.
In the 1980s Amstrad, who were known at the time for making cheap hi-fi products, decided to move into the home computer market and began development of a new computer that become the CPC (Colour Personal Computer) 464. It was one of the best selling microcomputers of that era with over 2 million units sold.
The CPC 464 was powered by the Zilog Z80 processor running at 4MHz and came with 64KB of RAM. It included a built in tape drive and was bundled with a green monochrome or colour CRT monitor.
First Inspection
My CPC 464 was not in a good condition. It looked like it had been stored in a damp attic for several decades and came with a collection food, insect parts and what I assume to be moth cocoons. A thick layer of brown dirt covered the case and keyboard and the plastic was scratched in several places, especially the clear acrylic on the tape deck.
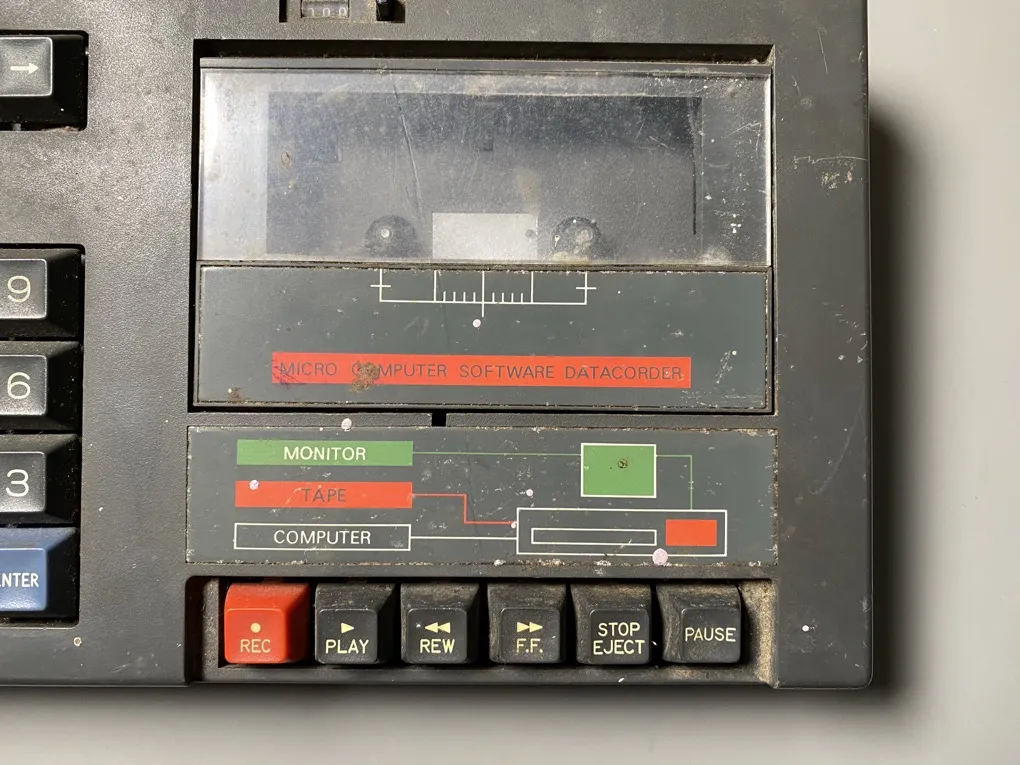
40 Years of Dirt
The keys on the keyboard made a crunching noise when they were pressed and the space bar did not return properly when it was pressed.
Disassembly
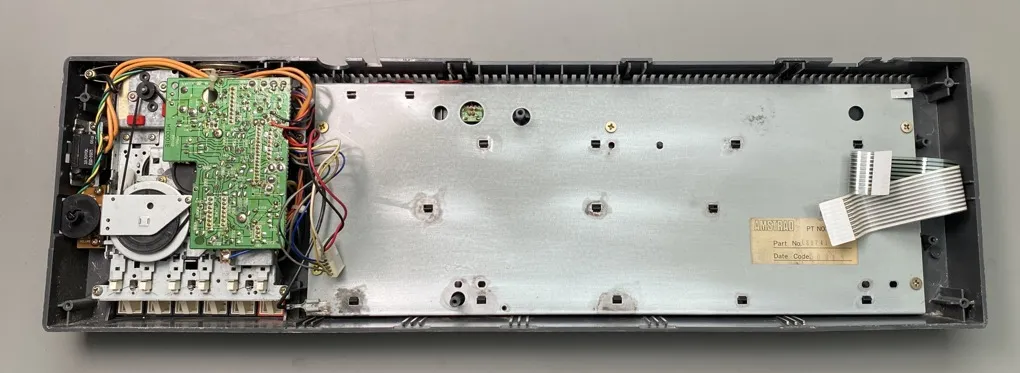
The first step was to remove the screws from the bottom of the case and take it apart so I could see how bad the damage was inside.
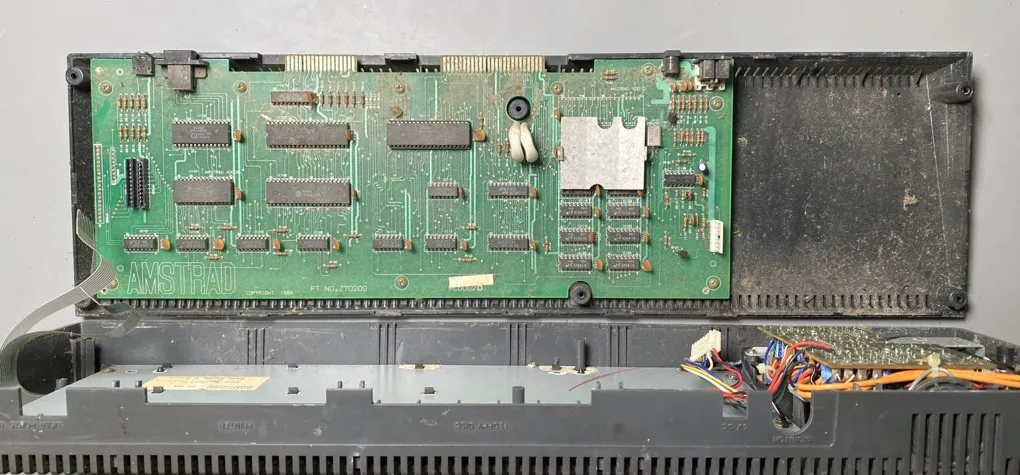
Just as bad inside
Upon opening the case I was greeted by more dust and parts of insects. There was some water damage on the bottom of the keyboard chassis with several areas of rust but the motherboard looked to be in reasonable condition under the dirt.
I unscrewed the motherboard, keyboard and tape deck and put the plastic case in a bath of water to soak before giving it a good scrub with soap and warm water. Once it was clean and dry it looked in far better condition than I had feared with just a few scratches. There was a lump in the plastic in the top left corner which I initially thought was a mark from a soldering iron but it lines up with the mounting post underneath so it may have been a manufacturing defect that was there from the beginning.
The Keyboard
The keyboard was held onto the front of the case with five screws. After removing the screws I lifted out the keyboard chassis and was presented with a large amount of dirt, insect droppings and 40 year old food. The worst of the dirt was removed with a vacuum cleaner, while being careful not to suck up any keys.
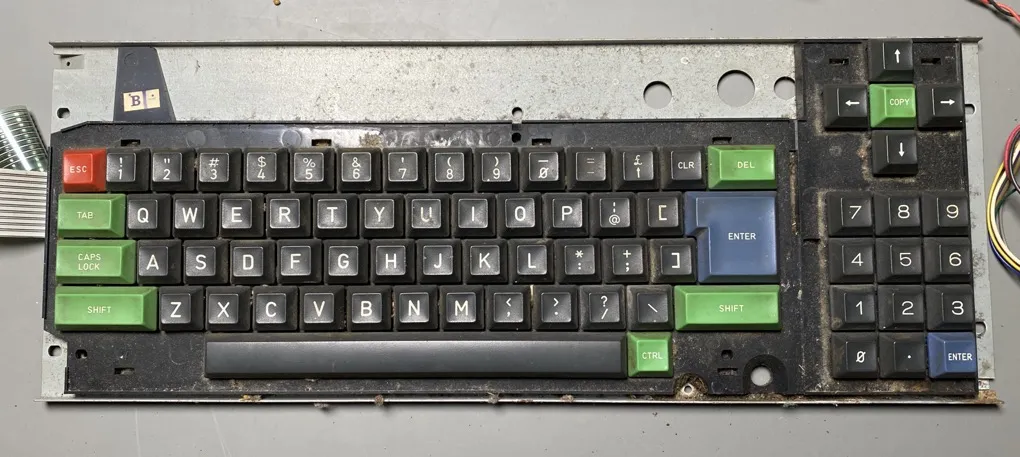
More dirt and grime around the keyboard
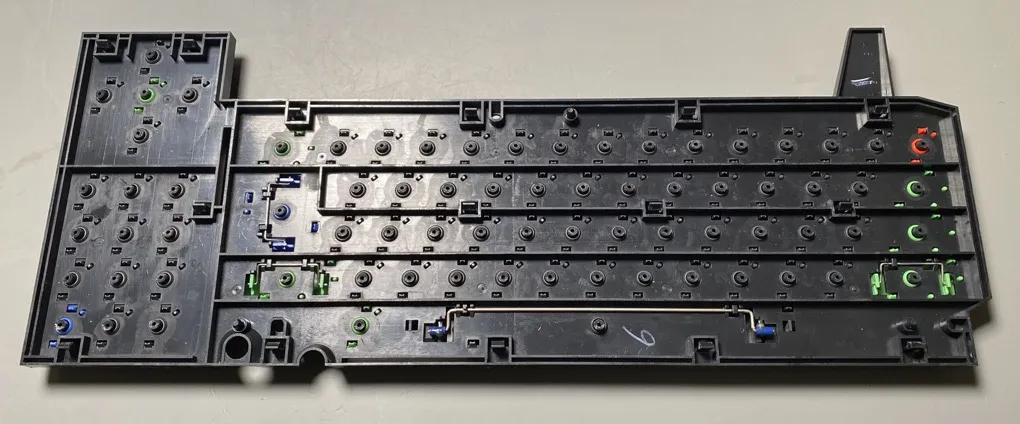
The plastic backplate unclipped from the metal frame revealing the plastic keyboard membrane and the back of the keys. The membrane was covered in dirt and rust. Luckily all of the dirt was on the outer faces of the membrane and the internal conductive traces were undamaged. I removed as much of the dirt as possible using alcohol and a damp cloth, being careful not to get any liquids between the layers.
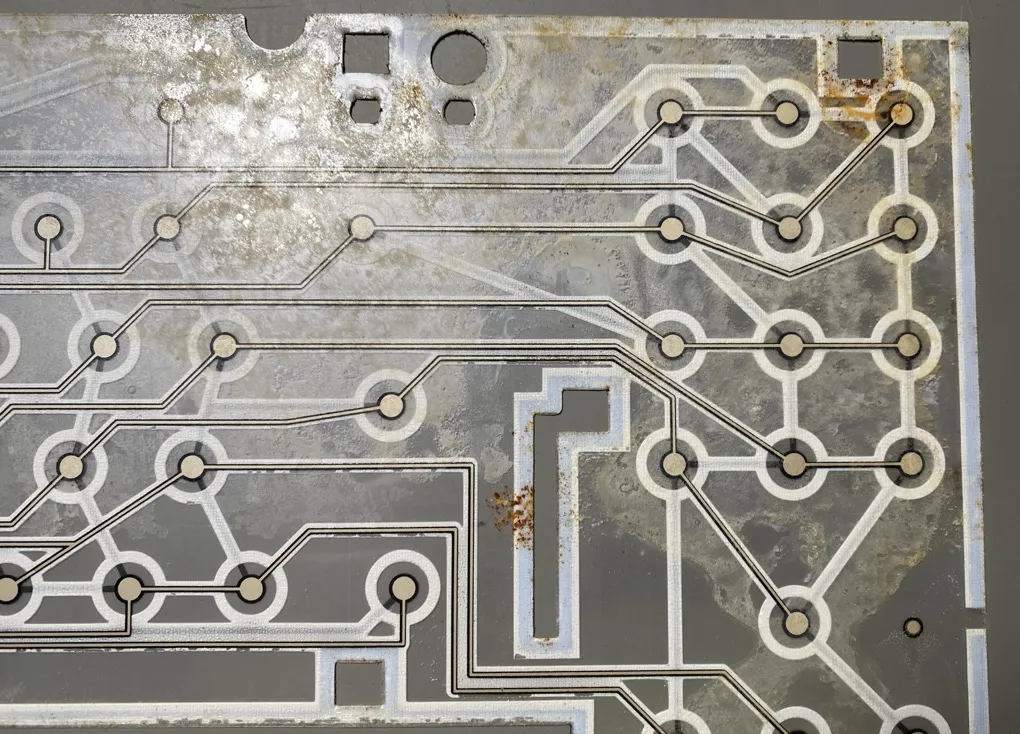
The keyboard membrane in need of a clean
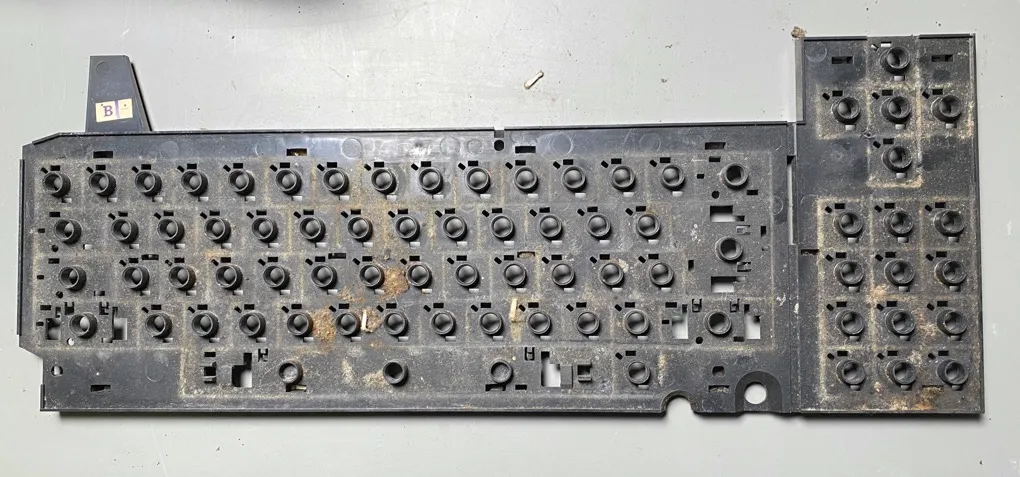
40 Year Old Food and Insect Parts
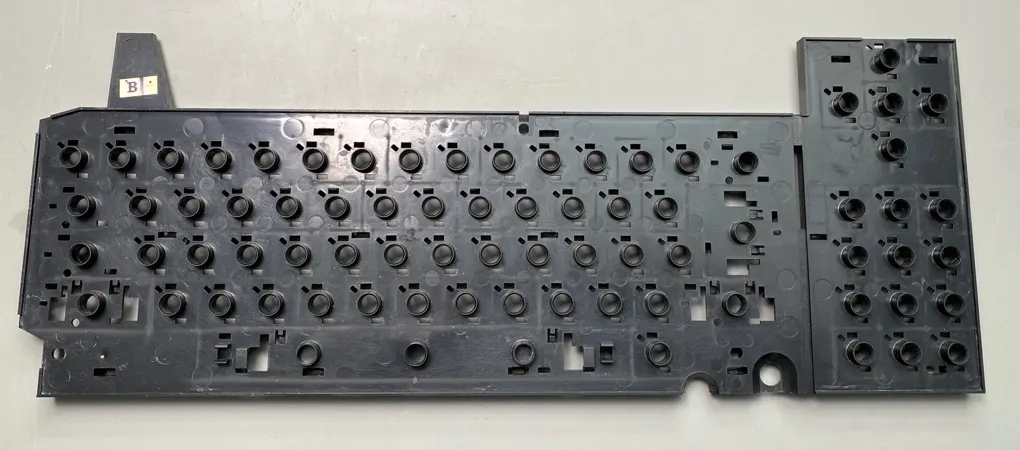
Looks better after a clean
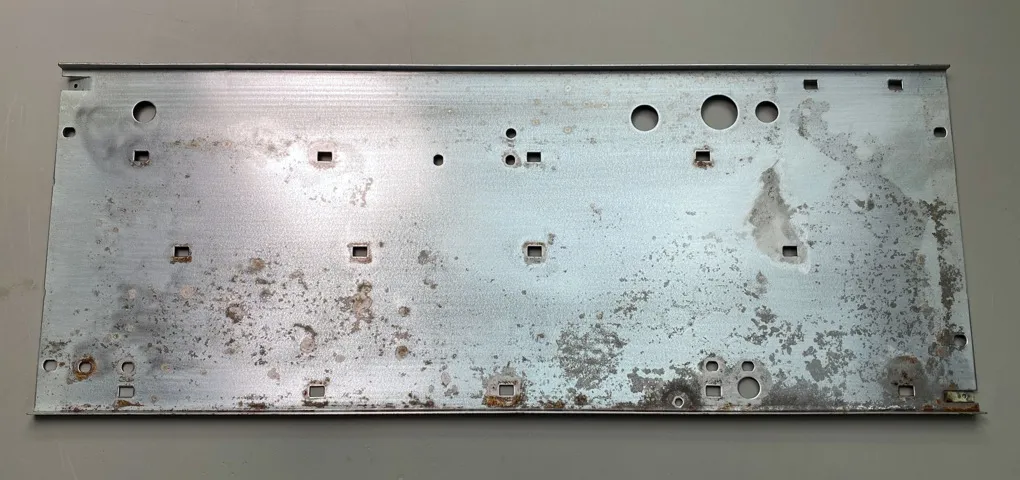
The metal backplate was covered in rust around the holes and the galvanising was heavily corroded. The keyboard had clearly be subjected to water or spilt drinks sometime in its life. The first step was to clean off all of the rust with a rotary wire brush on a Dremel drill. Wire wool was used to clean the galvanising being careful not to breathe in the dust.
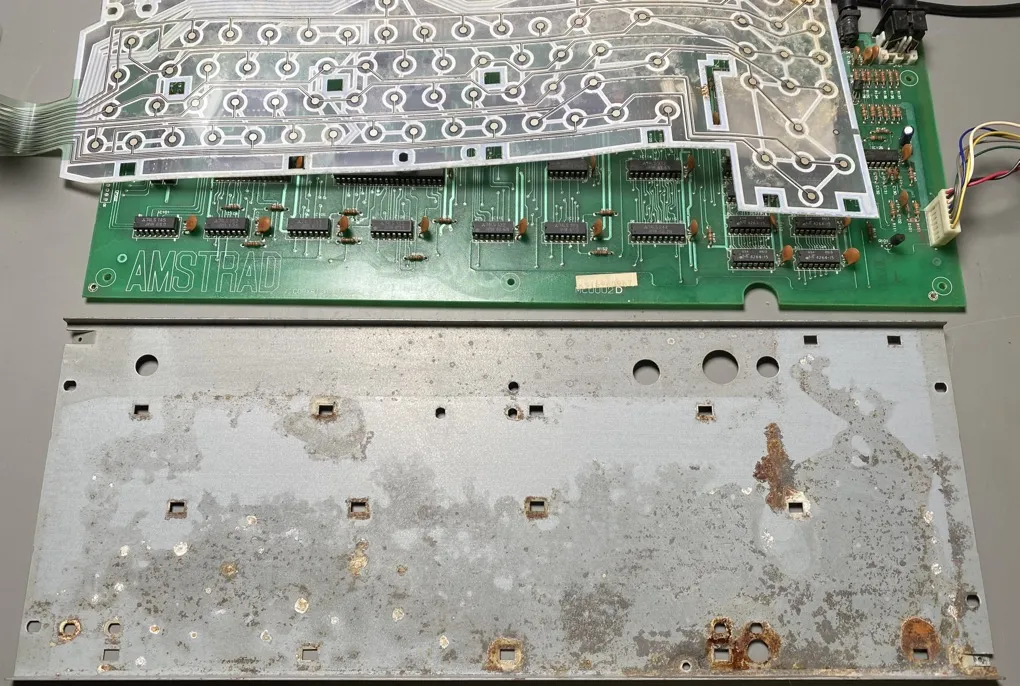
Signs of water damage on the metalwork
Once the metal backplate was as clean as I could get it I gave it a coat of clear lacquer to protect it against future corrosion.
Cleaned and Laquererd
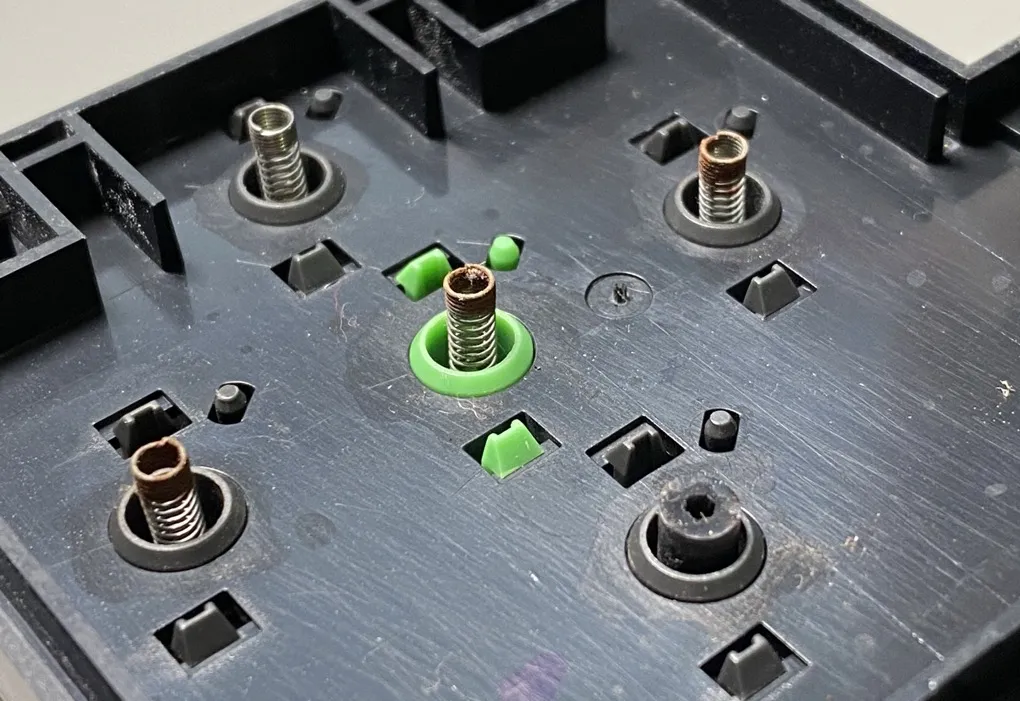
All of the keys were removed from the plastic backplate revealing the first major problem with the computer. Each key had two springs, a large return spring that pushed the key back into position when pressed and a small spring that pressed down on the membrane. Both keys were covered in rust and many of the small springs were so rusty that they broke off when being removed. This would be a problem as if the small spring was not the correct length it would not be able to press the membranes together triggering a key press.
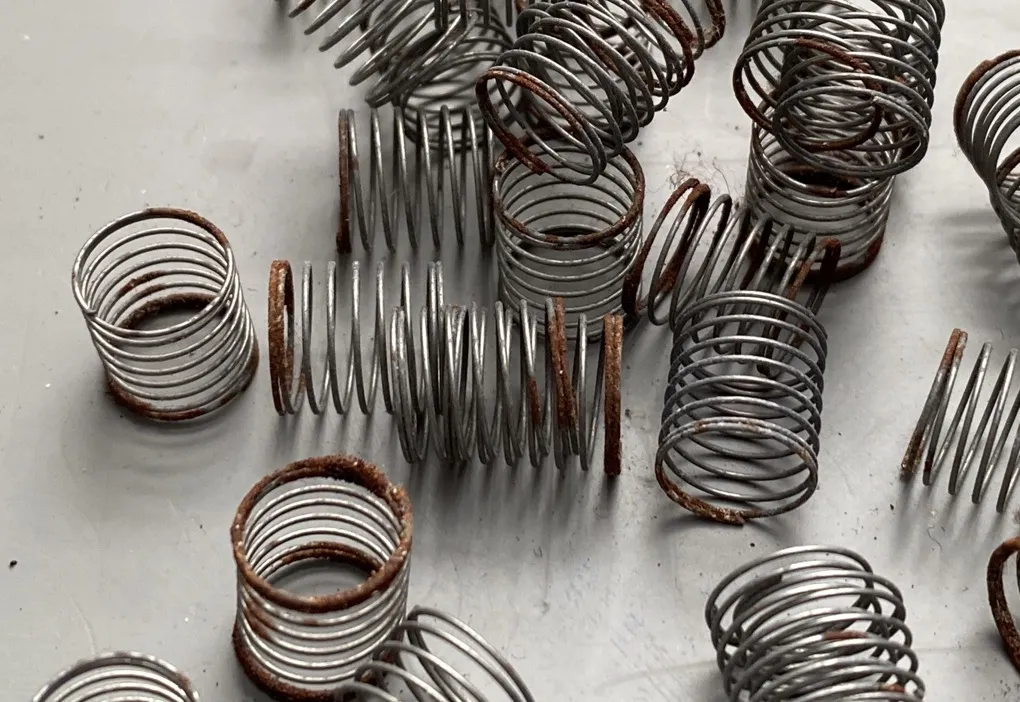
Keyboard springs have seen better days
I soaked the keys in water overnight before cleaning each one with soap and warm water. The blue Enter keys had discoloured and now had a brown tint. Cleaning with soap did not restore the colour so I tried to Retrobrite them by coating them in peroxide and exposing them to UV light. Unfortunately this did not work so until I can find a way of restoring the original colour they will have to stay as they are.
The large springs were still intact so I soaked them in rust remover for a few hours before cleaning each one with a rotary wire brush.
Better after a clean and polish
Another issue I noticed while disassembling the keyboard was the space bar had broken on the bottom. A metal rod connects the two ends of the space bar together so when the key is pressed in any position it will move downwards parallel. The plastic lugs that holds the metal bar in place had broken off so when you pressed on the space bar it rocked from side to side instead of going down.
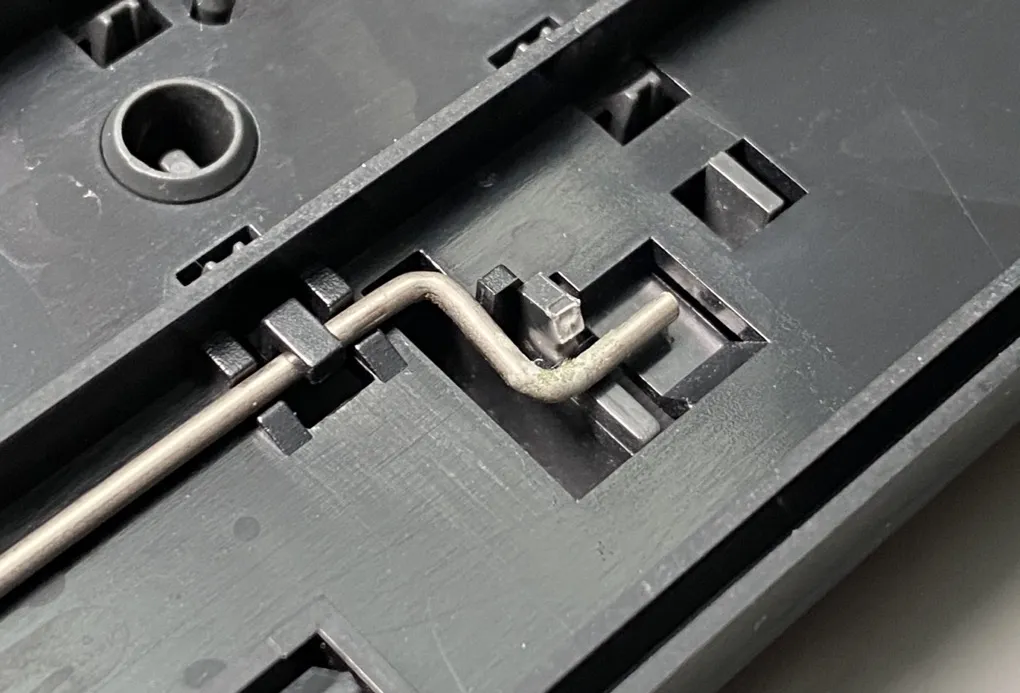
Broken Space bar Lugs
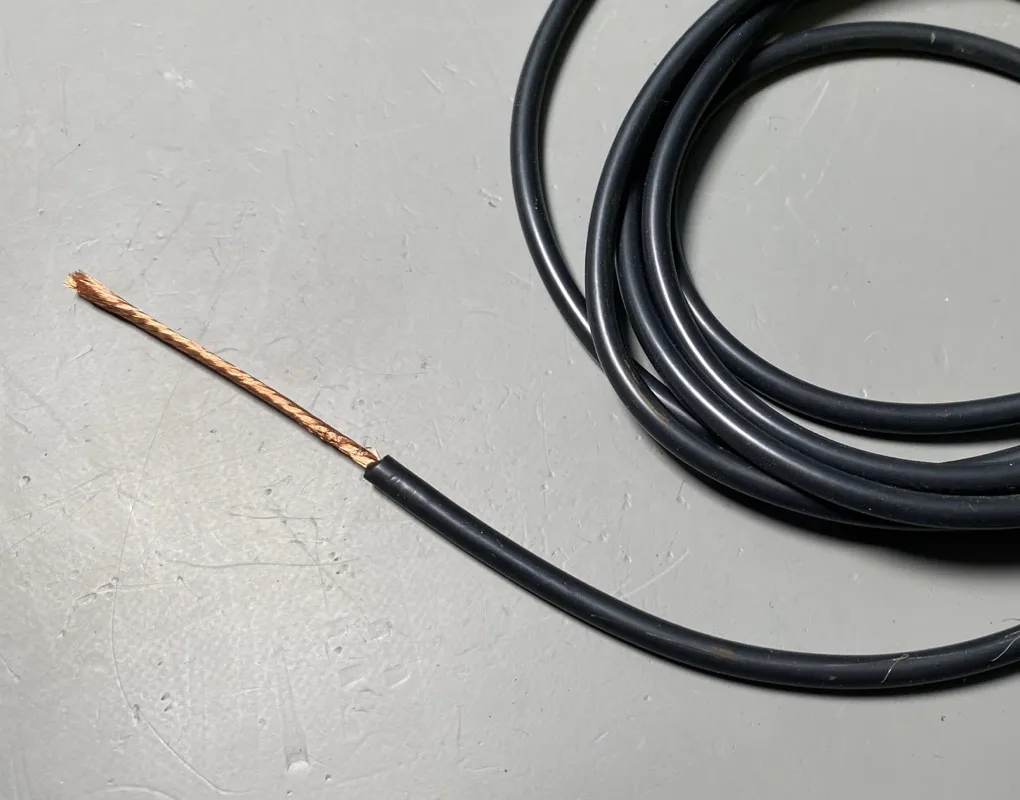
To fix this problem I found a piece of plastic wire insulation with the correct size centre to slide over the metal rod and glued it to the space bar with epoxy resin. The insulation would act as a bush allowing the rod to rotate while holding it in the correct position.
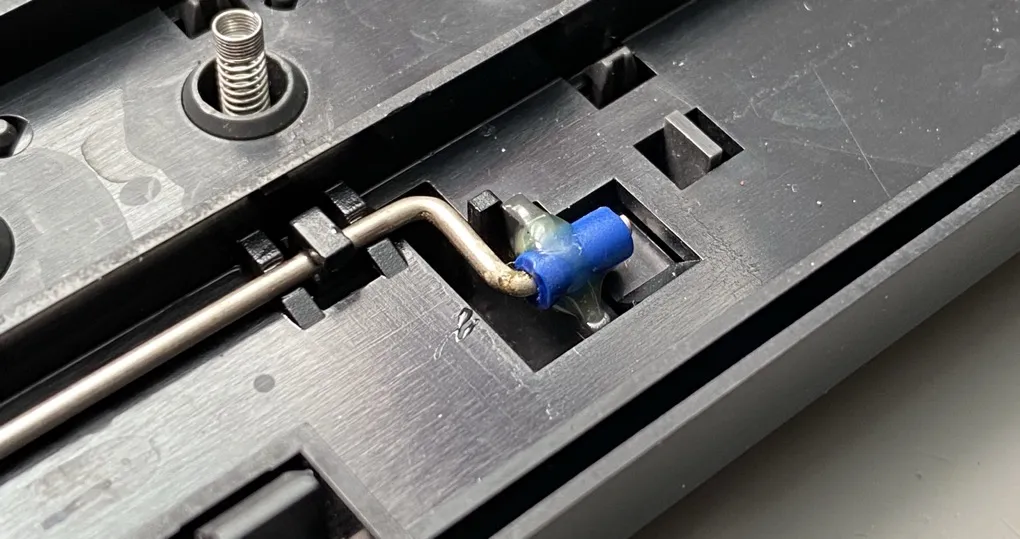
Fixed Space bar Lugs
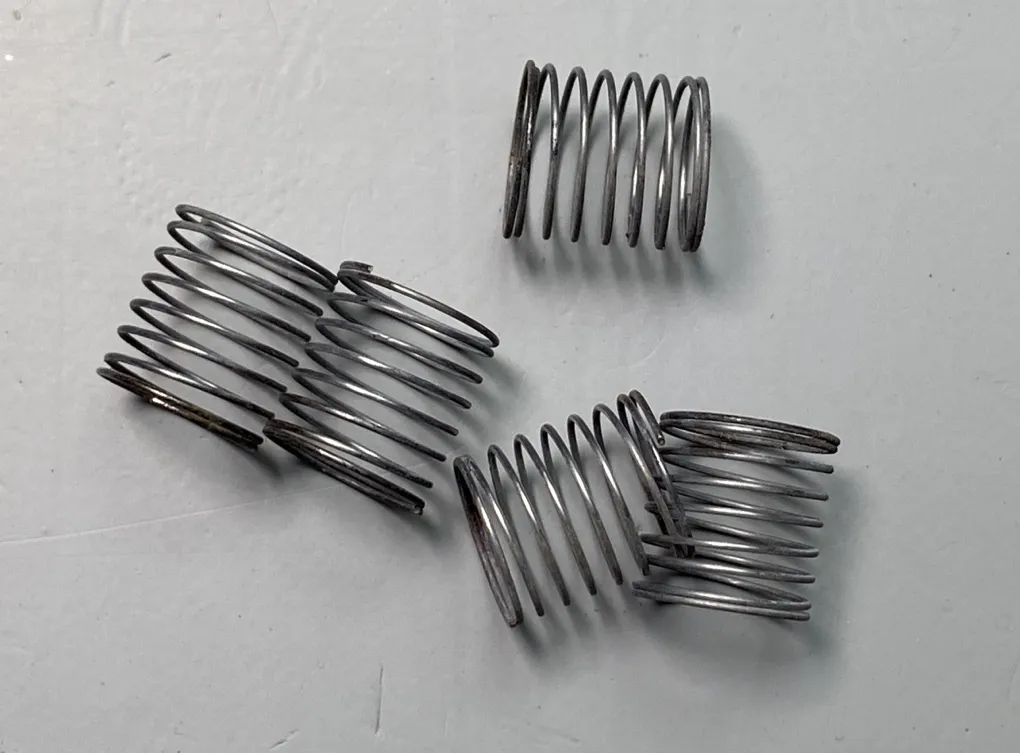
The broken small springs were more of a challenge. The springs were 2.5mm diameter and 8mm long. I could not find any similar springs online but I did find a forum post from another CPC464 restorer who suggested that 3mm x 10mm springs would be a suitable replacement. I found some 3mm x 10mm springs on AliExpress and ordered a pack of 100. When they arrived I assembled the keyboard but found that with the new springs fitted all of the keys were permanently touching the membrane so the computer would read every key as being pressed down.
I did consider cutting each spring down but another issue with the new springs was that the diameter was too large for them to stay in place inside the key so they would fall out of position while I was trying to reassemble the keyboard. Clearly another solution was needed.
Broken springs and the replacement
After looking at several options I decided to replace the springs with silicon tubing. I had a roll of 4mm diameter silicon wire that was originally bought for making test leads. The wire was the perfect diameter both inside and out to fit in the centre of the keys and had the right amount of spring to press against the membrane and create a reliable key press.
Silicon wire used to make the new springs
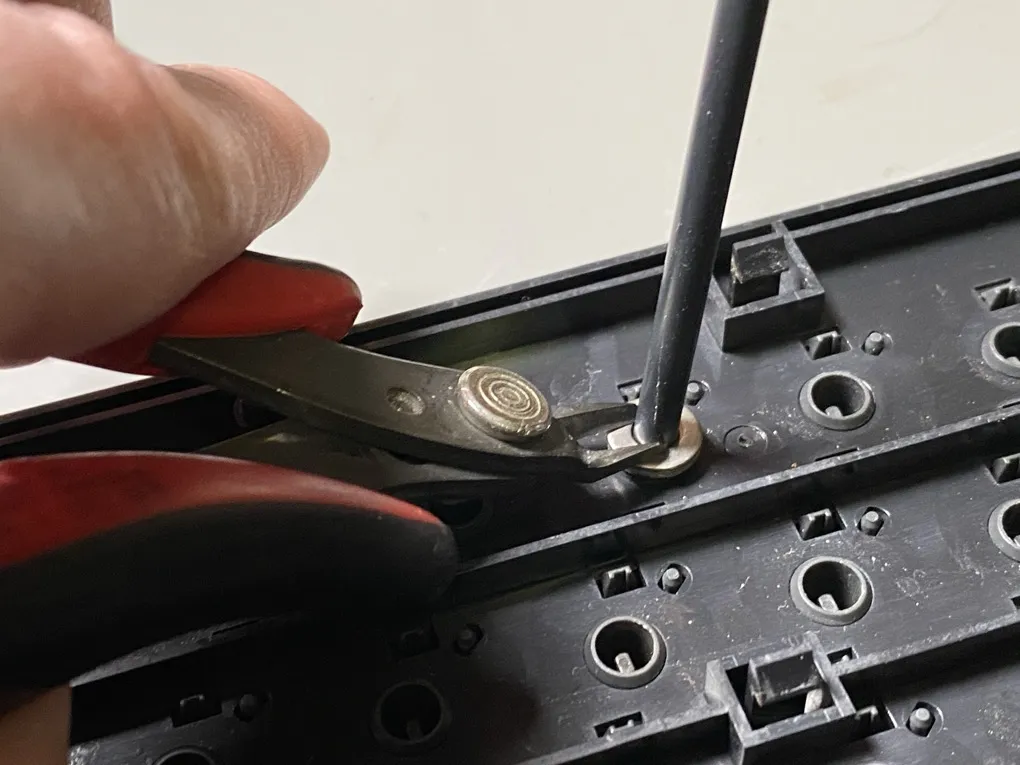
Trimming the silicon to length
To cut each rubber spring to the correct length I glued two M4 washers together to make a 2mm high spacer. I then pushed a piece of silicon tube down into the button, slid the washer over the top down on top of the key and used a pair of side cutters to cut the tubing. The result was 74 silicon springs all cut to the same length.
New silicon springs installed
The keyboard was reassembled ready to be put back in the computer once everything else was clean.
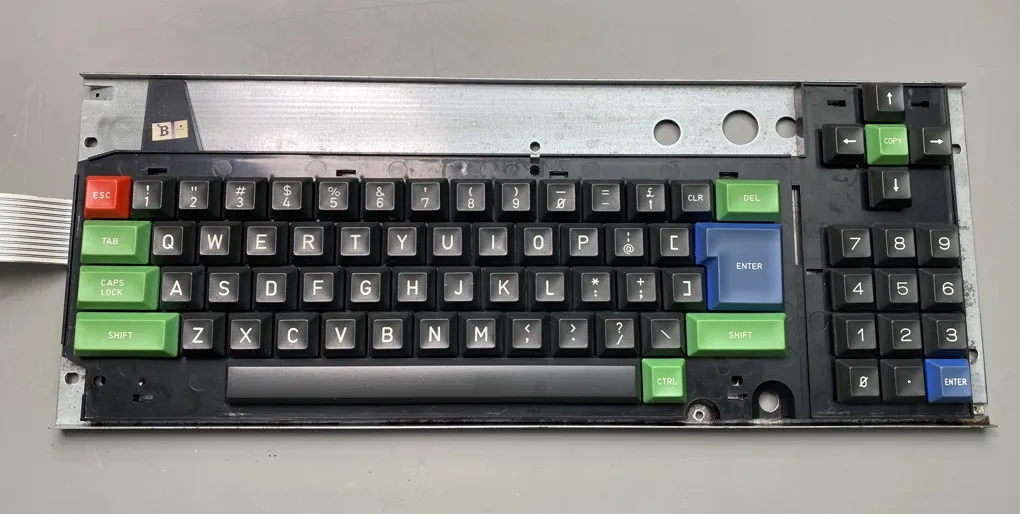
Keyboard cleaned, repaired and ready to install
The Tape Deck
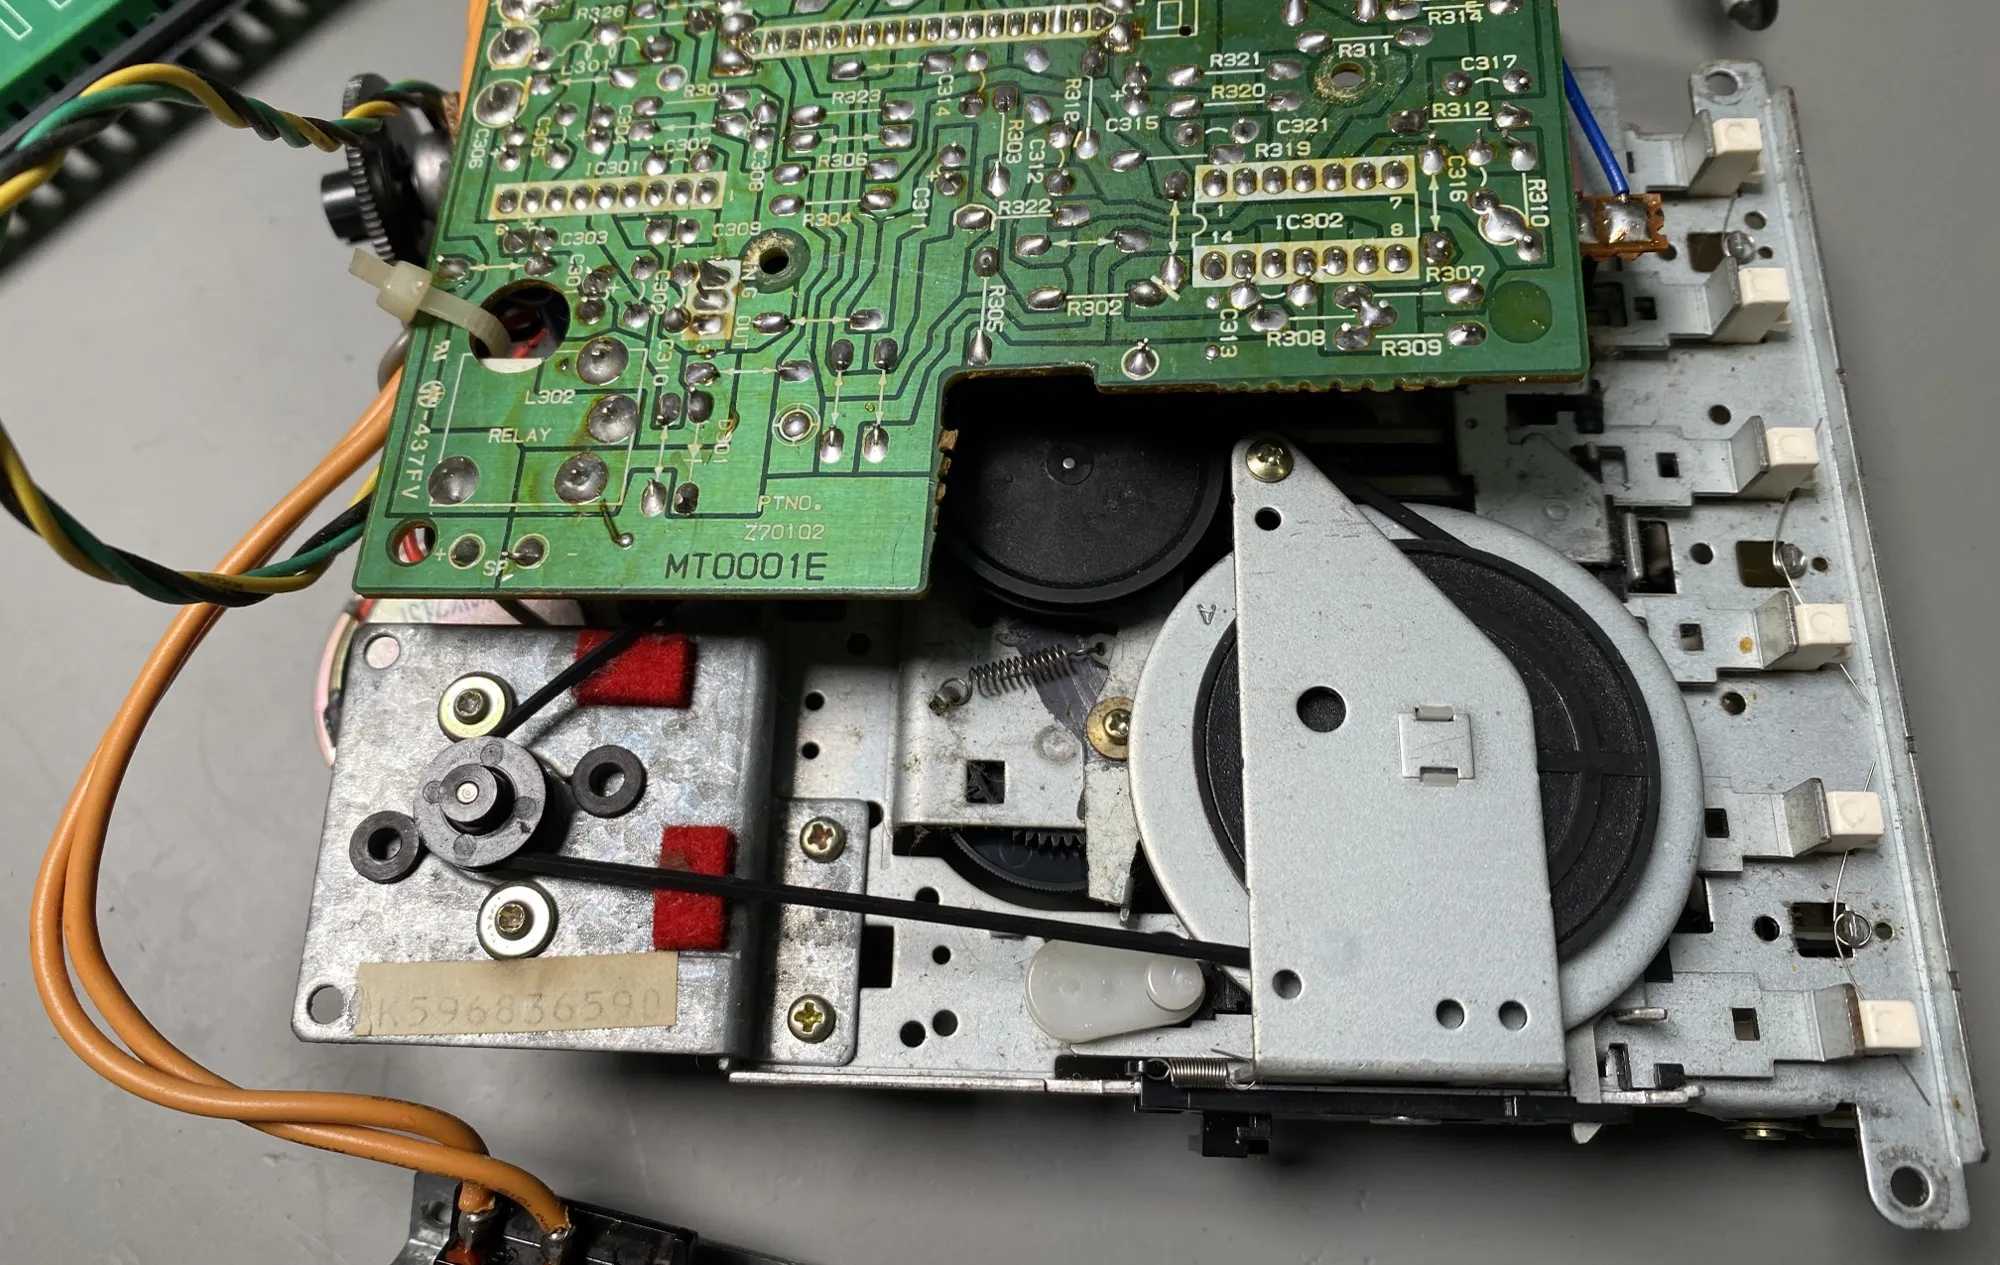
The tape deck was in a worse condition than the keyboard. The mechanism was clogged with dirt and hair which had combined with the lubricating grease to create a sticky mess. There were also spots of rust all over the metalwork.
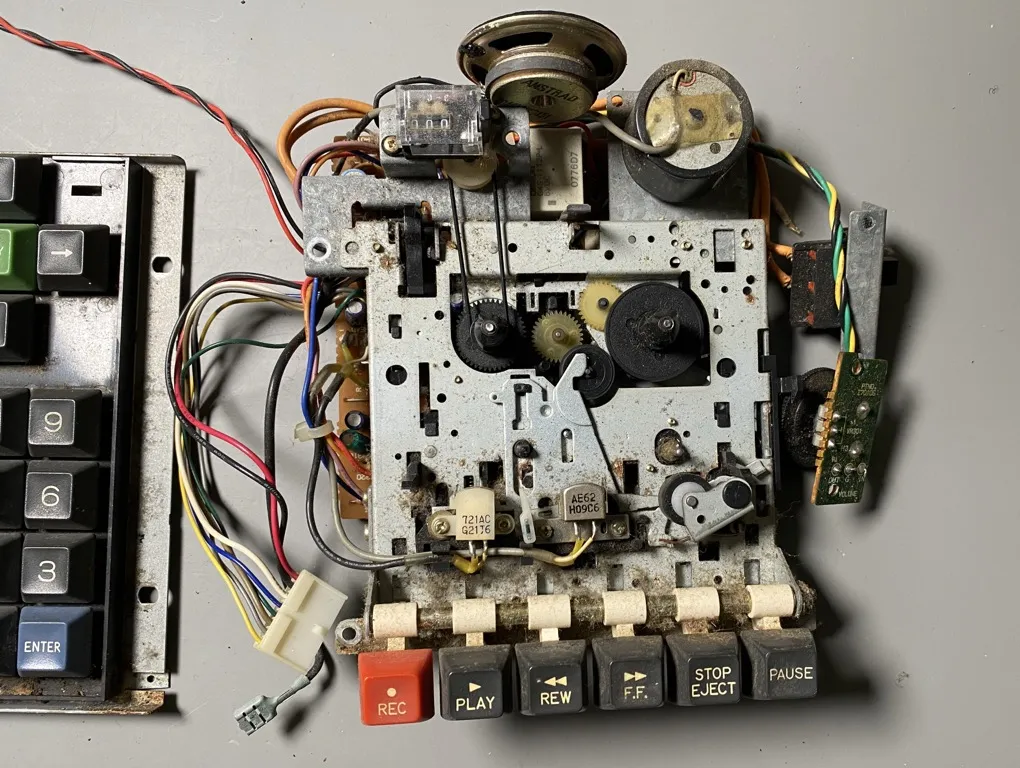
Tape deck before cleaning
The first step was to disassemble the mechanism. The buttons are removed by removing a circlip from the end of the button rod and sliding the rod out of the mechanism. Take care when doing this as each button has a small spring underneath that will take the opportunity to escape captivity and to fly across the room.
The buttons were washed to remove the dirt and the rest of the tape deck was cleaned with alcohol. The rust spots were removed with some 1200 grit sandpaper.
The rubber belts for the motor and the counter had stretched over the decades and now slipped when playing a cassette tape. I found a set of replacement belts on eBay and installed them.
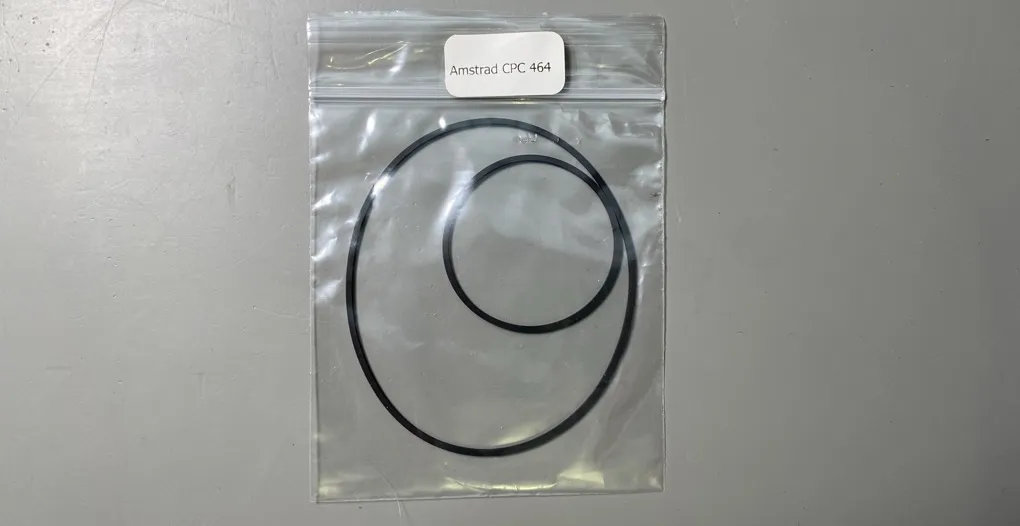
Replacement Belts
New drive belts installed
Another issue that seems to be fairly common with the tape decks used in the CPC 464 is the idler wheel slipping. The idler wheel is a small plastic wheel with a rubber washer that sits between the drive spindle and the right tape wheel. When the play button is pressed the idler wheel is moved up to push on the drive spindle and the tape wheel allowing power to be transferred across the three wheels. When the rubber washer on the idler gets old it becomes hard and slips against the drive spindle.
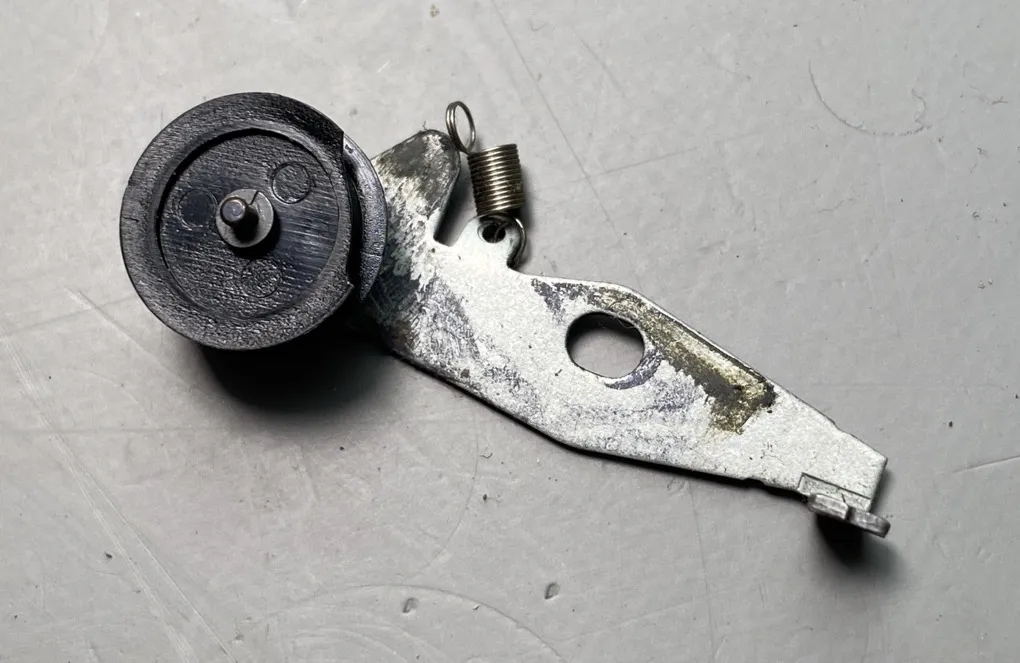
Old Idler Wheel
This was happening on my tape deck so the idler washer would need to be replaced. I found a company in the UK called DataServe Retro who sell spare parts for the Amstrad CPC range of computers. They had an idler wheel in stock so I ordered one.
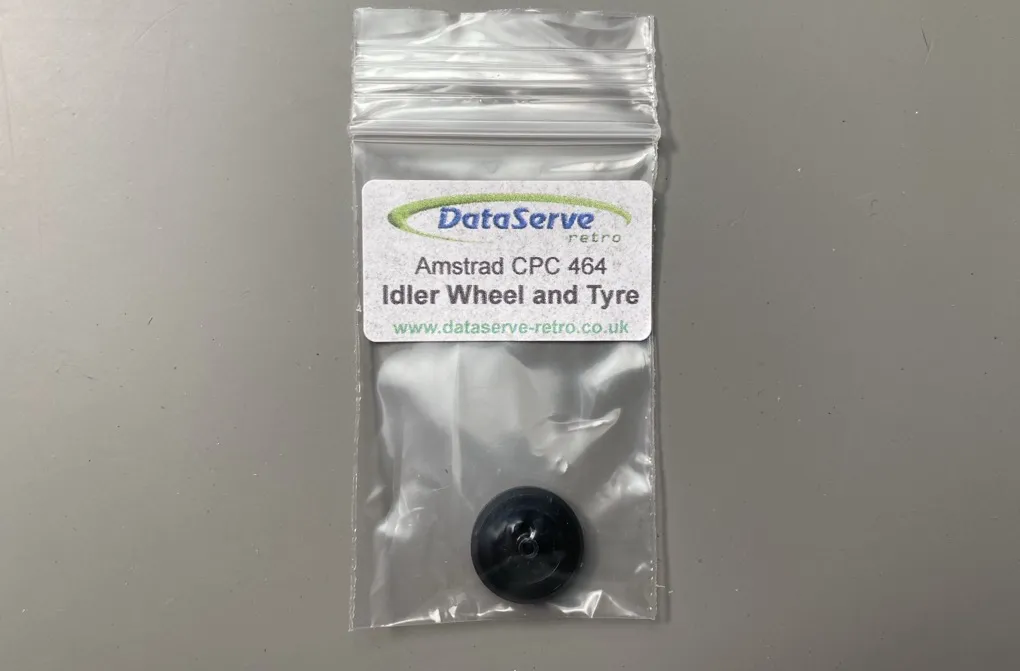
Replacement idler wheel
Replacing the idler wheel is not easy. First you need to remove the right tape wheel, this is done by removing the spring clip on the top of the wheel, and sliding the wheel and springs off of the shaft. Next you remove the screw and spring that hold the idler arm in place and carefully slide the idler arm through the gap in the front of the tape deck. This is a fiddly process as there are several parts that get in the way.
Once the idler arm is removed the spring clip on the idler wheel can be removed and the wheel slides off of the shaft. The new wheel is installed, the spring clip goes back on and the idler arm and tape wheel are assembled and installed back in the tape deck.
If you find that after installing the new idler arm it still slips you may need to increase the tension on the spring by hooking it onto the metal lug a few turns from the end.
Adding an External Tape Input
With the cassette tape deck working I now had a way of loading cassette programs onto the CPC 464, the only problem was I only had one game cassette. I could have copied more games to cassettes but an easier option is to load programs directly from an external audio source. Applications are available that allow you to convert Amstrad CPC tape images to an audio file or play it directly from a smart phone so you can bypass the tape deck completely.
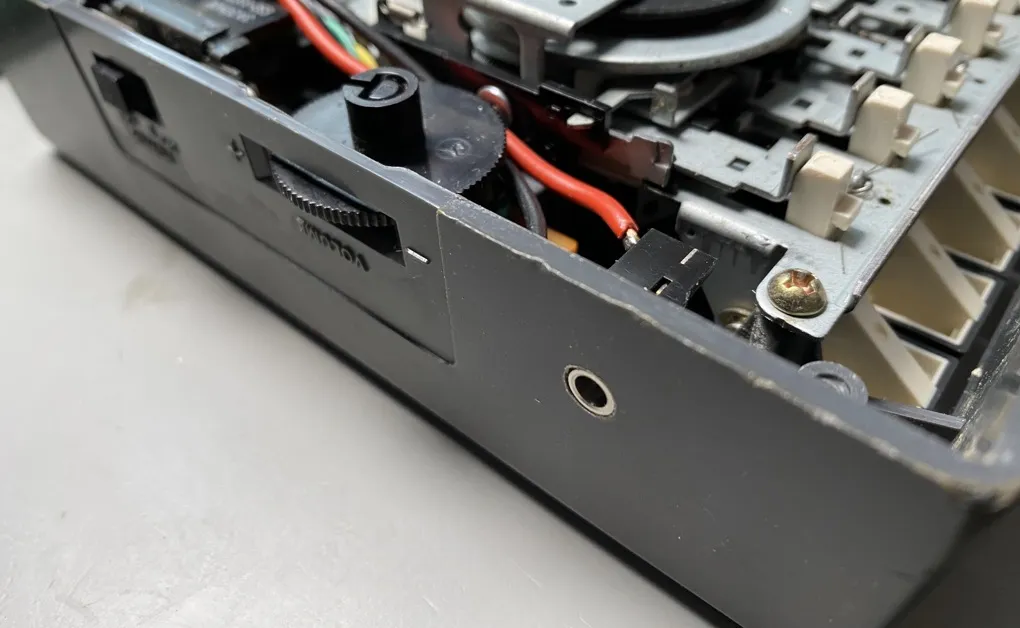
Installing an external audio input is relatively straightforward. A suitable 3.5mm audio jack socket was found and a hole was drilled into the side of the case. The socket had a threaded shaft so the hole size was increased until it was fractionally smaller than the jack socket which was then screwed into the plastic, cutting a thread in the process.
Installing an external tape socket
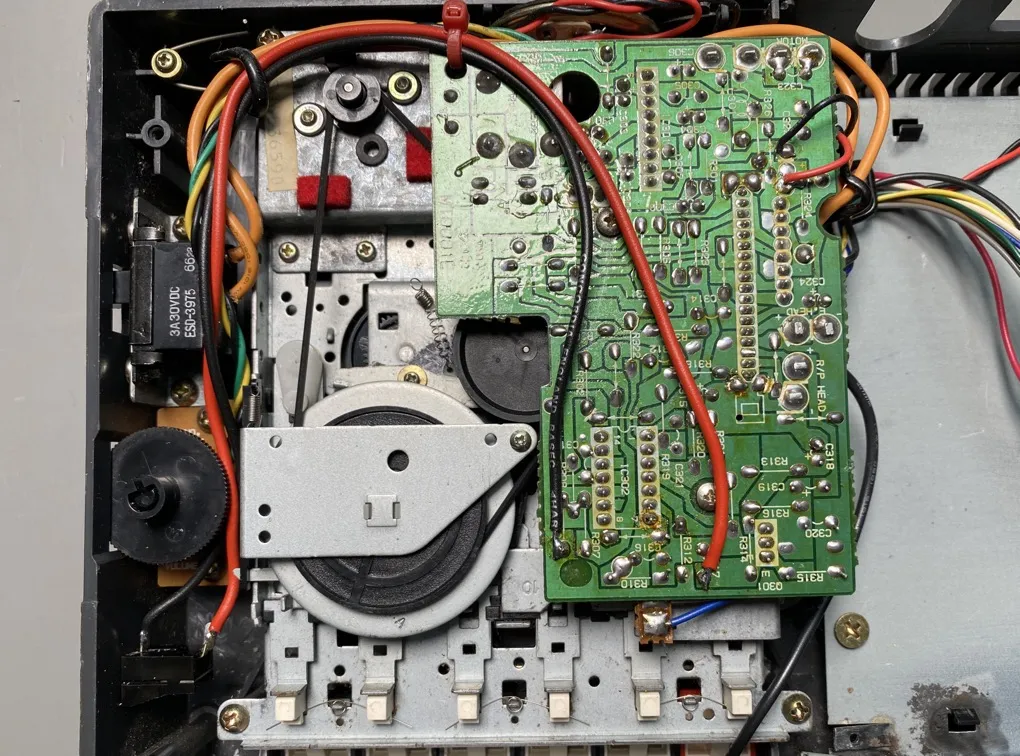
The connections on the jack socket connected to two points on the tape deck PCB. The centre pin connects to capacitor C317 closest to the edge of the PCB. The ground wire connects to R309 closest to the corner of the PCB.
External tape socket fitted
Final Cleaning and Assembly
The final job before reassembling the CPC 464 was to clean the motherboard and try to remove some of the scratches from the case.
The motherboard PCB initially looked to be in a poor state but after giving it a clean with alcohol it was surprisingly well preserved with only some small corrosion pits on the edge connectors. It looks like the water damage that caused so many issues with the keyboard did not make it as far as the motherboard so that was a lucky escape.
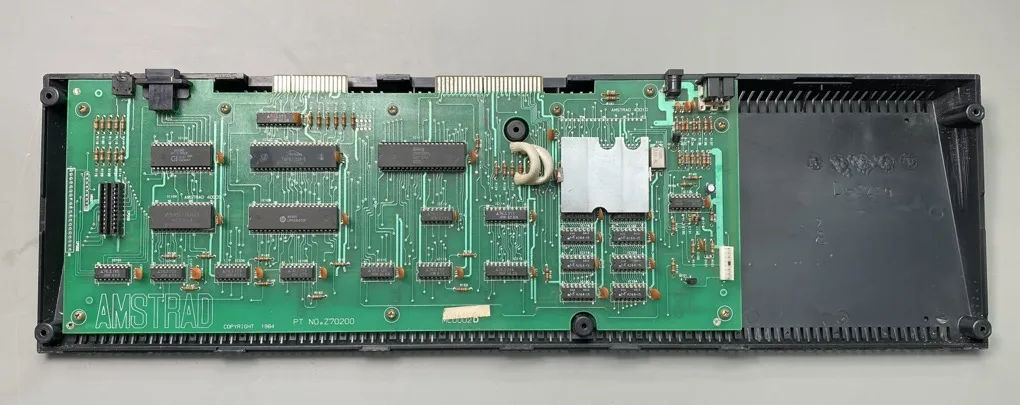
Motherboard cleaned and ready for reassembly
The clear acrylic sheet that covers the cassette deck was covered in small scratches and pits so I repolished it using some T-Cut on a wool cloth. It took a lot of polishing but nearly all of the scratches were removed.
I used some Autoglym Bumper & Trim Gel, normally used on car bodywork, to restore the case back to its original colour and hide some of the scratches.
Top half reassembled
The computer was reassembled and it was finally time to power it on and see if it works.
Finished and ready for testing
One issue I was faced with before I could test the computer was connecting it to a monitor and power. The CPC 464 was originally supplied with a CRT monitor which also contained the power supply. The video output is not completely compatible with the SCART input on a television so I had to buy a custom cable that combined the video, power and audio cables as well as making the necessary conversion for the SCART input.
I found a company in the UK who make cables for the CPC 464 and with the help of my bench power supply set to 5V DC I was able to connect the computer up to my monitor.
When I turned the power supply on I was surprisingly greeted by the Amstrad Basic screen. Despite all of the dirt, water and insects that had made the computer their home over the past four decades there were no faults with the motherboard and everything appears to be working.
I tried a cassette in the tape deck and after a few adjustments to the head position it loaded successfully. Next I connected an old Android phone to the external input and selected a game from the loader app. This too worked without any problems.
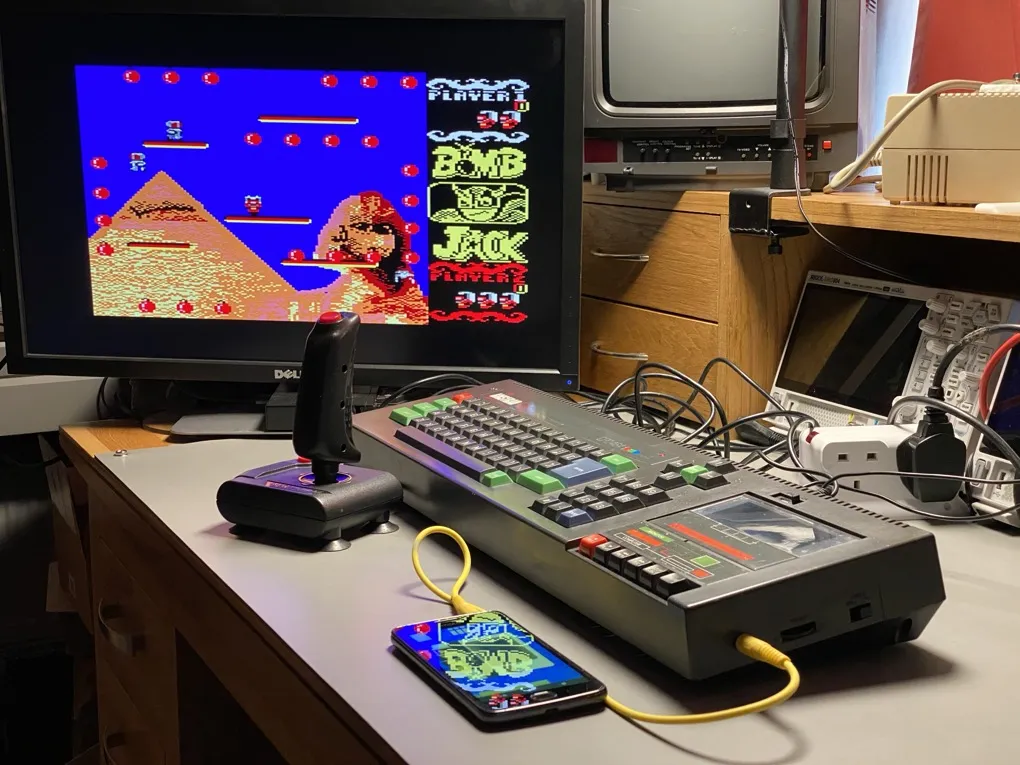
Amstrad CPC 464 Running Bombjack
Now I have a working a fully restored Amstrad CPC 464 I will look at options for getting games into the computer faster as most of the cassette games take over 10 minutes to load.