The listing described the Mac as “Sold for Parts”, as it wouldn’t power on. There were photos of the motherboard and it did not look like there was any physical damage so I decided it was worth a gamble and placed a bid of £40. I ended up winning the auction for £39.07.
First Impressions
A few days later, the parcel arrived. The box was in good condition with only minor water staining from where it had been stored in someones attic for several decades. This is my first eBay purchase that came with its original box, cables and software. All of my other computers came wrapped in bubblewrap and one didn’t include any screws to hold it together so having a complete boxed computer as it would have arrived in 1990 was a nice change.
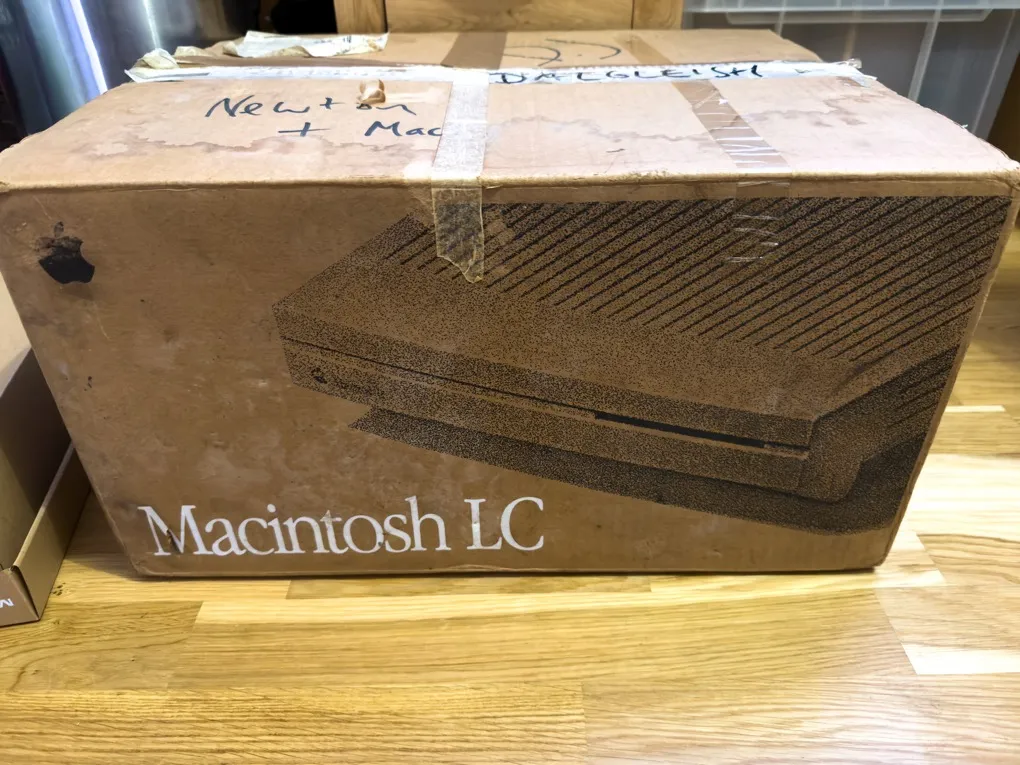
Apple Macintosh LC Box
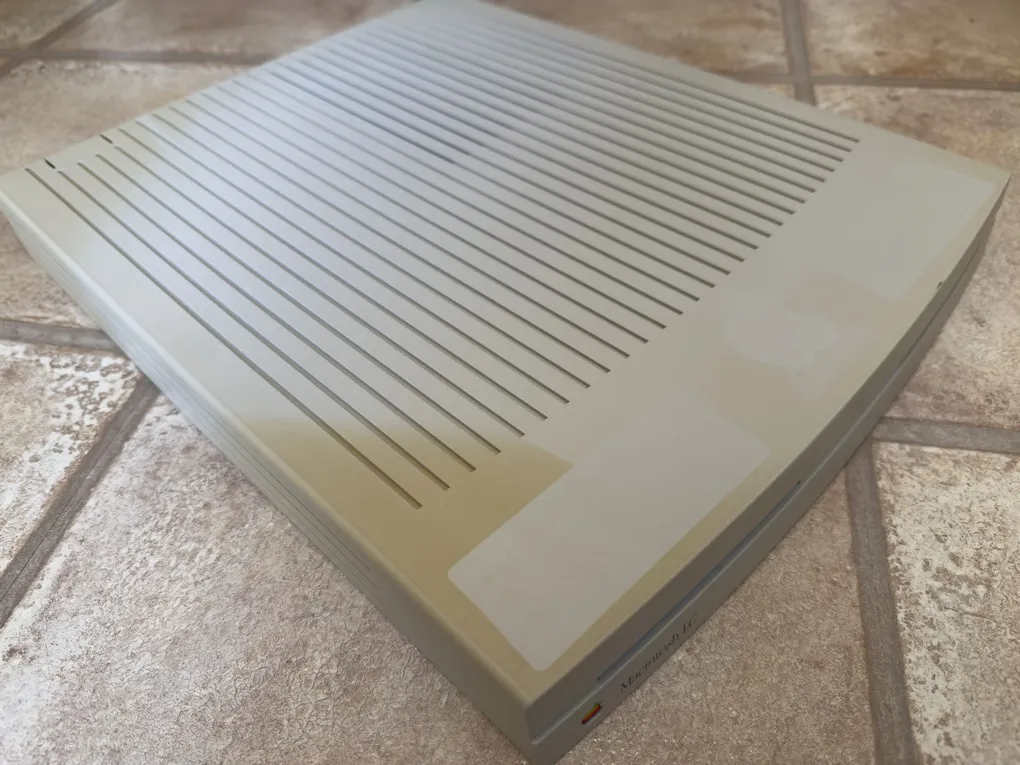
Upon unboxing there wasn’t any visible damage to the plastic parts but it showed the usual signs of age, yellowing of the plastic casing and a layer of grime on the keyboard and mouse. This particular model was released in October 1990 and discontinued in March 1992. Based on the date stamps on the components, mine is one of the earlier production units.
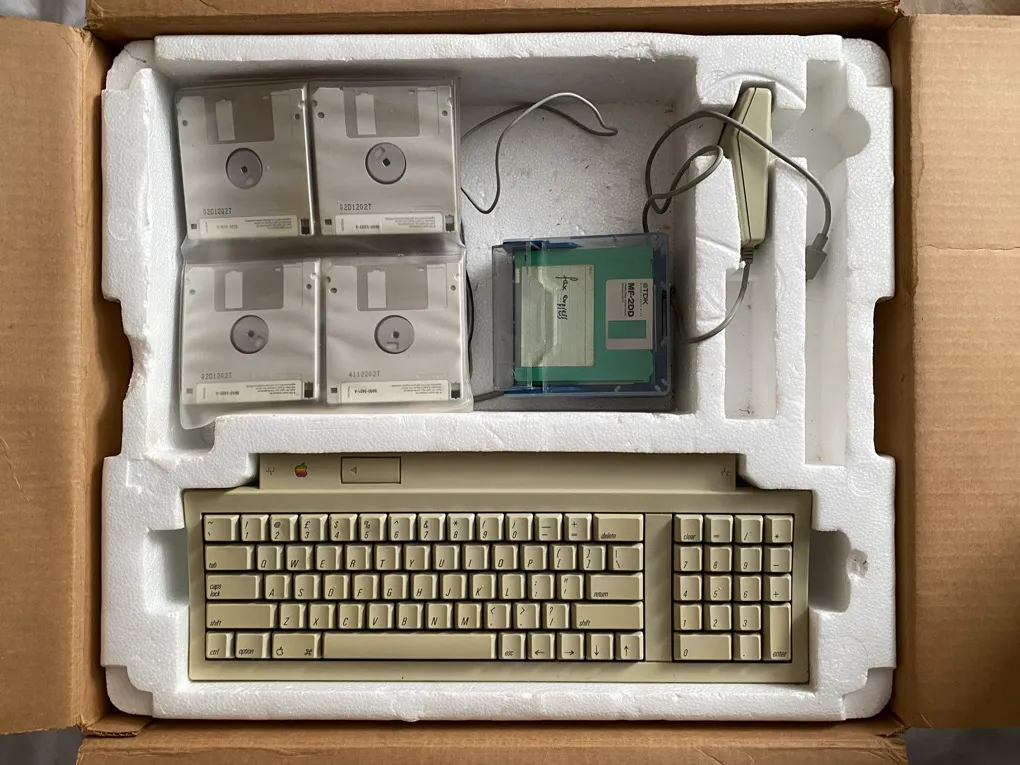
Inside the box
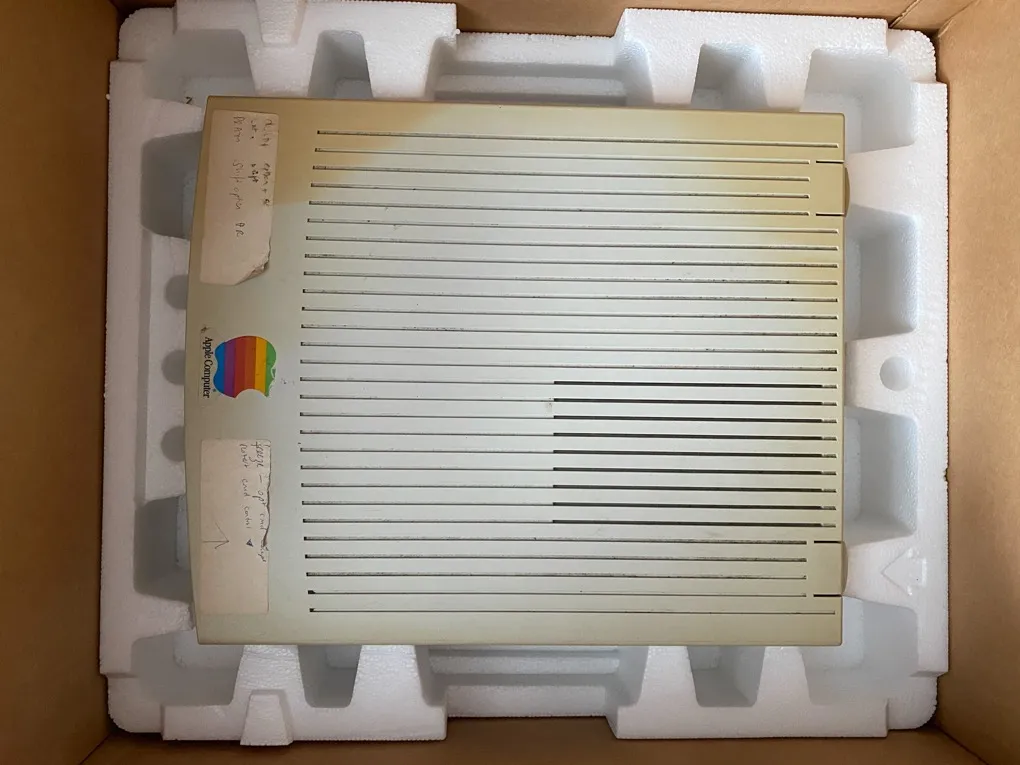
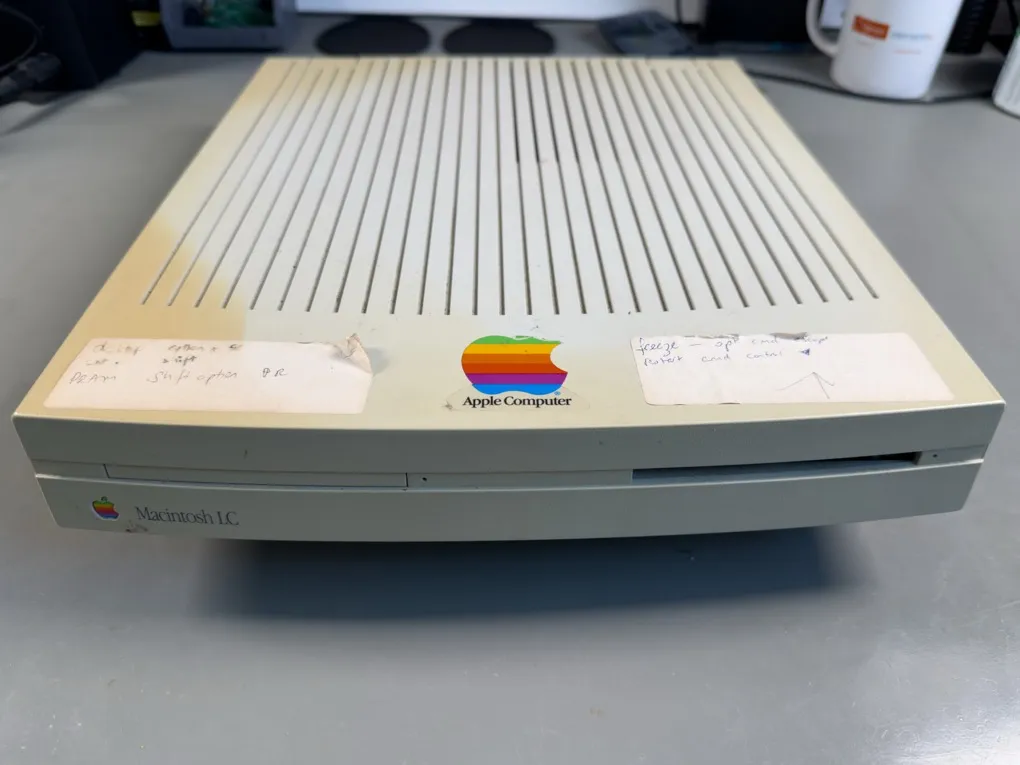
A first look at the computer
Original Specifications:
- Processor: Motorola 68020
- Speed: 16 MHz
- RAM: 10 MB
- Display: Single screen support
- Resolutions: 512×384 or 640×480*
- Hard Drive: 40 MB SCSI
- Floppy Drive: 1.44 MB
- Battery: 3.6V Lithium LS14250 (½AA)
* The LC supports 512×384 at 8-bit colour or 640×480 at 4-bit with its default 256k VRAM. With 512k VRAM, it can manage 512×384 at 16-bit or 640×480 at 8-bit colour. (Source: EveryMac) The 68020 processor had a 32-bit address bus which means it was capable of 4GB of RAM. Unfortunately Apple decided that nobody would need 4GB of RAM so they designed the LC to only support 10MB.
The only way around this 10MB limit would be to install an accelerator card with a 68030 processor and onboard RAM but they are hard to find and when they do appear on the market they are expensive, so for now 10MB will have to do.
Needs a clean
Fault Finding
Removing the top cover revealed the logic board, floppy drive, power supply, and the 40MB SCSI hard disk, all of it coated in a thick layer of dust. Thankfully, the battery had not leaked, a common issue with vintage computers, where the chemicals leaking from the battery can seriously damage the PCB and surrounding components.
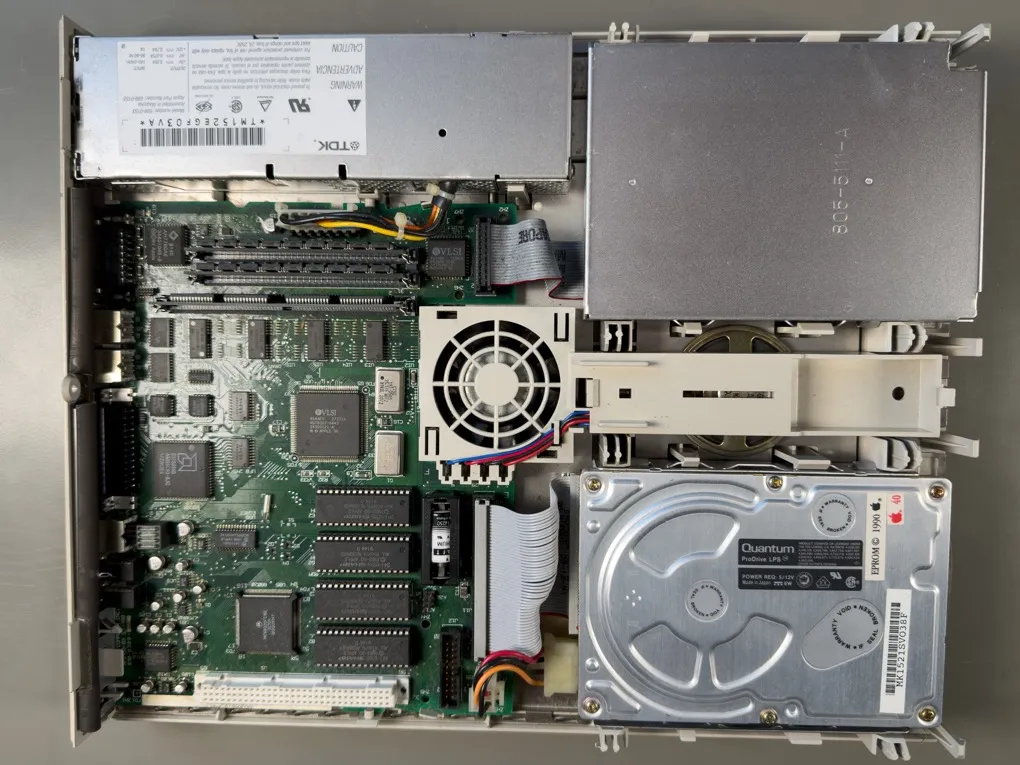
A look inside
I disconnected the power supply and tested it using a HOPI power meter. Power draw was minimal, and a loud ticking noise suggested an internal short circuit. The output voltages were well below what they should have been, so the power supply was my first repair job.
Power Supply Repair
The unit is a TDK 699-153 with output ratings of +5V at 3.25A, -5V at 0.075A, and +12V at 0.75A. After removing the casing, I discovered a single-sided board packed with leaking electrolytic capacitors on the low voltage side. Electrolytic capacitors have a habit of failing as they get old. The oxide dielectric layer degrades with age and high temperatures which can cause a short internally. This makes the capacitor heat up and occasionally explode.
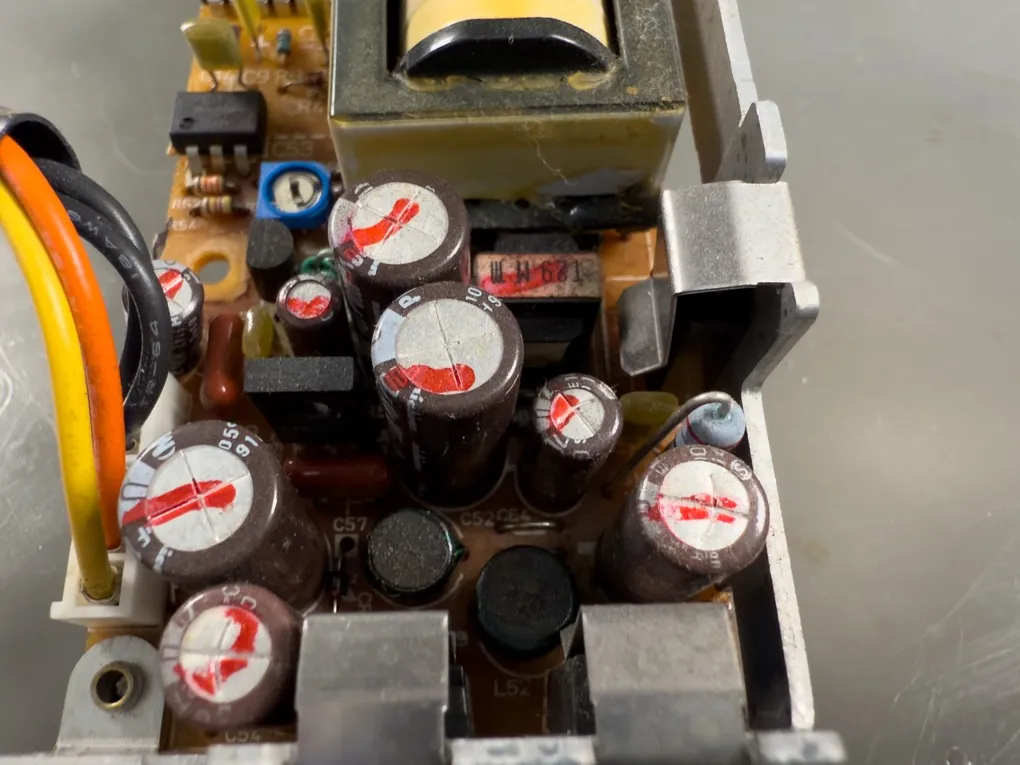
Dead Power Supply
None of the capacitors showed signs of detonation but several had leaked their contents onto the PCB so the fault with the power supply definitely looked capacitor related.
All damaged capacitors were de-soldered, the board cleaned thoroughly and replacements were ordered. Here's a breakdown of what was used:

Capacitor Leakage
| RefDes | Value | Voltage | Type | Qty | Link |
|---|---|---|---|---|---|
| C60 | 47µF | 25V | Radial Electrolytic | 1 | RS Components |
| C56 | 56µF | 25V | Radial Electrolytic | 1 | RS Components |
| C64 | 270µF | 10V | Radial Electrolytic | 1 | RS Components |
| C54, C5? | 270µF | 25V | Radial Electrolytic | 2 | RS Components |
| C52, C53, C55 | 1000µF | 10V | Radial Electrolytic | 3 | RS Components |
After replacing the capacitors I powered up the PSU and checked the voltages. All of the outputs were within specification so it looked like a successful repair.

New Capacitors Installed
Logic Board Repair
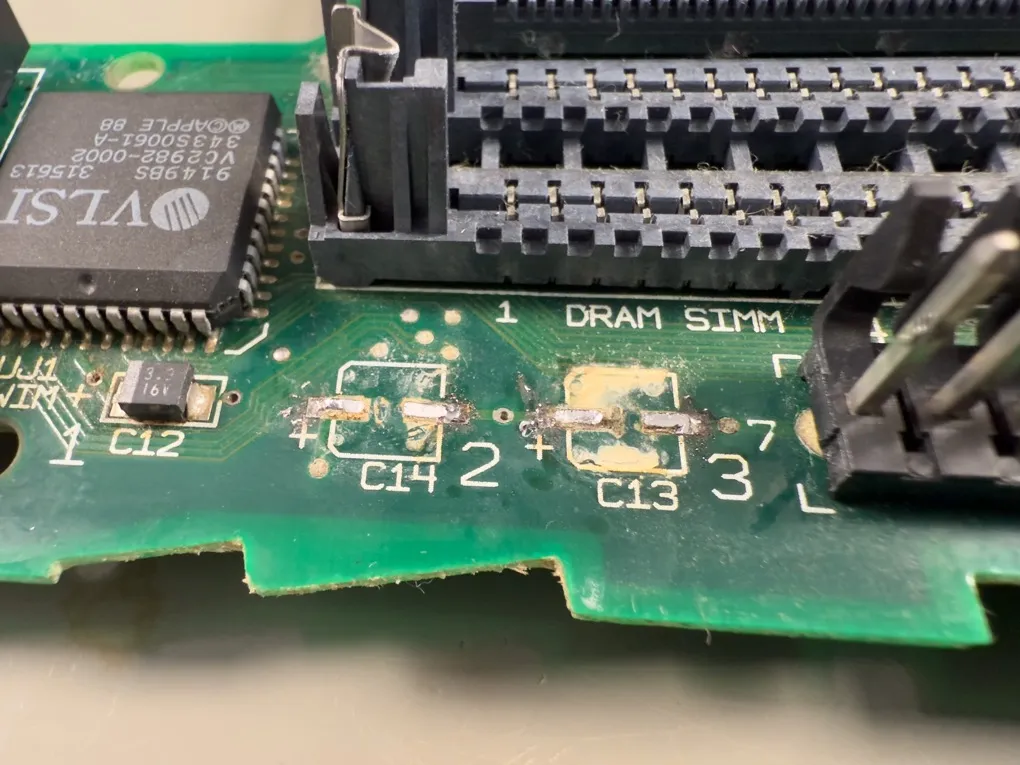
Before reconnecting the power, I decided to re-cap the logic board. It too was covered in years of dust, which I removed using a soft brush and isopropyl alcohol.

More Faulty Capacitors
The surface-mount electrolytic capacitors showed signs of leakage and corrosion. Using a hot air rework station, I removed them one by one, cleaned the board with isopropyl and cotton swabs, and used solder braid to tidy the pads before fitting replacements.
Signs of Leakage
Better After Cleaning
With the new capacitors installed, the logic board was refitted. After connecting the speaker, fan, and power supply, I powered it up and thankfully heard the iconic Mac “bong” startup chime.
Parts List:
| RefDes | Value | Voltage | Type | Qty | Link |
|---|---|---|---|---|---|
| C100 | 1uF | 50V | SMD Electrolytic | 1 | RS Components |
| C1, C3, C5, C6, C7, C105, C108, C111 | 10uF | 16V | SMD Electrolytic | 8 | RS Components |
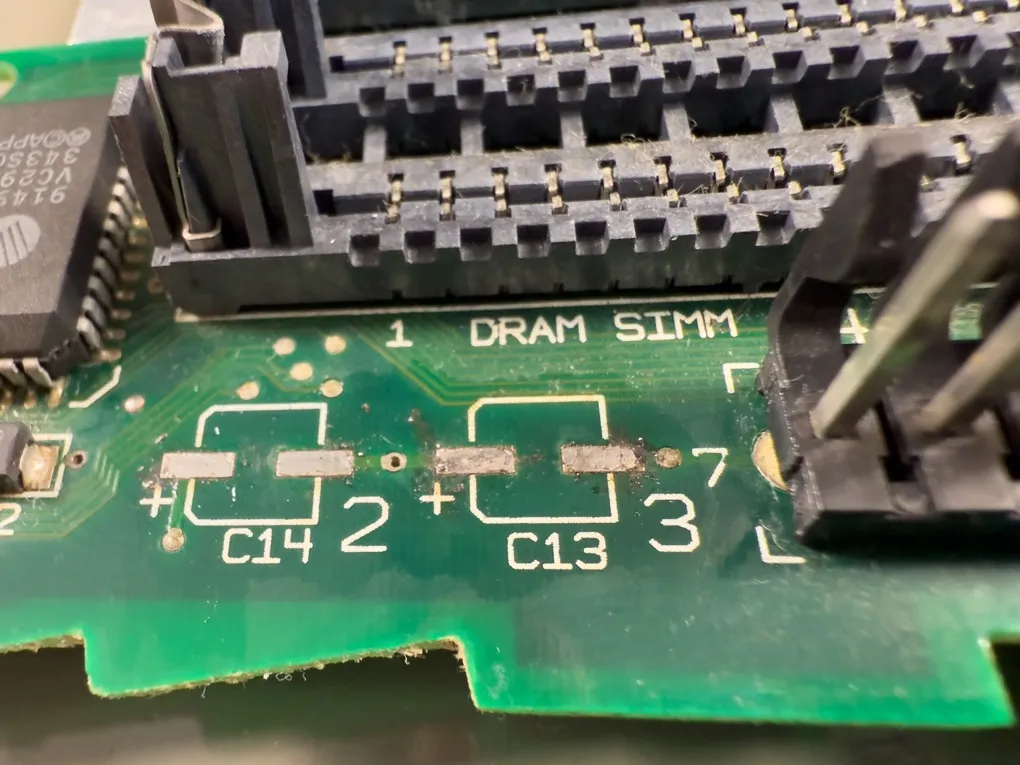
| C4, C9, C14, C15, C16 | 47uF | 16V | SMD Electrolytic | 5 | RS Components |
| C8 | 100uF | 6.3V | SMD Electrolytic | 1 | RS Components |

New Capacitors Fitted
Connecting a Monitor
The Mac LC uses a DB15 (Apple Display Connector) for video. This presented a problem as I do not have an Apple monitor with a DB15 connector. I do have a monitor with a VGA input so after some searching on the internet I found this DB15 to VGA converter designed by Alexandre Marcoux. Alexandre provides the PCB gerber files, 3D case model and bill of materials in his GitHub repository so I was able to order the PCB and 3D printed case from JLC PCB and build a VGA converter.
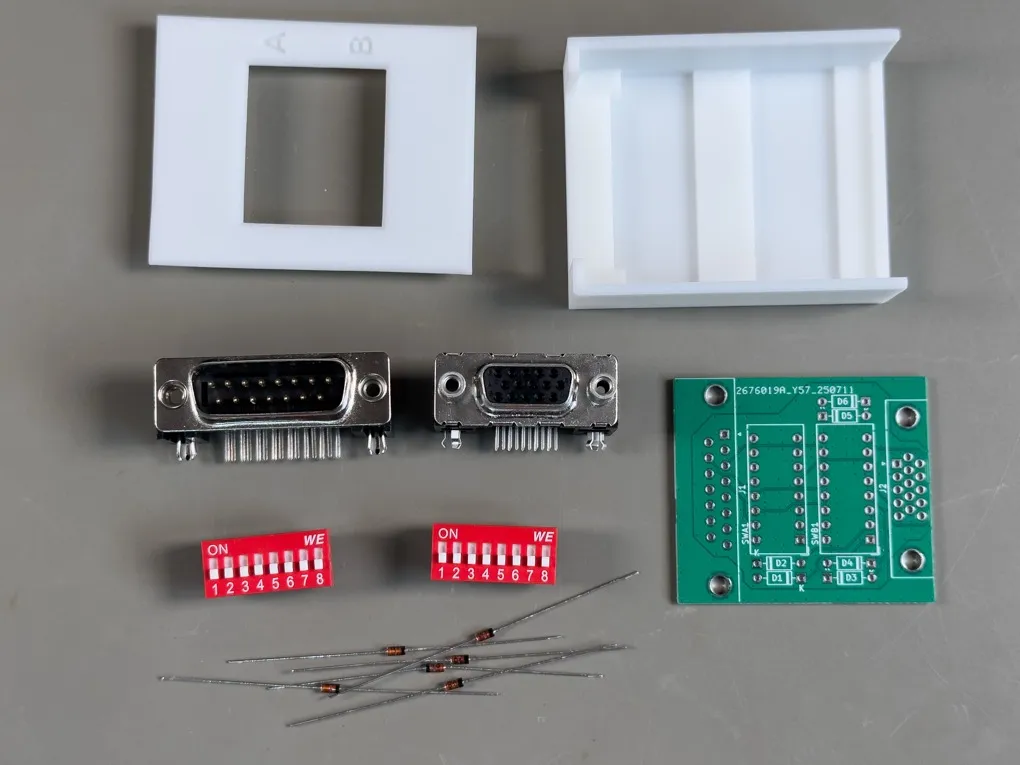
VGA Converter Parts
The VGA converter includes a set of DIP switches that allow you to set the resolution and refresh rate of the monitor. Apple monitors use several configuration pins to tell MAC OS which resolution to use which means there is no way of manually setting the resolution or refresh rate within the operating system. By setting the DIP switches on the converter it fools MAC OS into thinking an Apple monitor is connected and sets the resolution to one supported by the VGA monitor.
With the converter connected between the Mac and the monitor I was ready to turn it on and see if it boot up after all these years in storage.
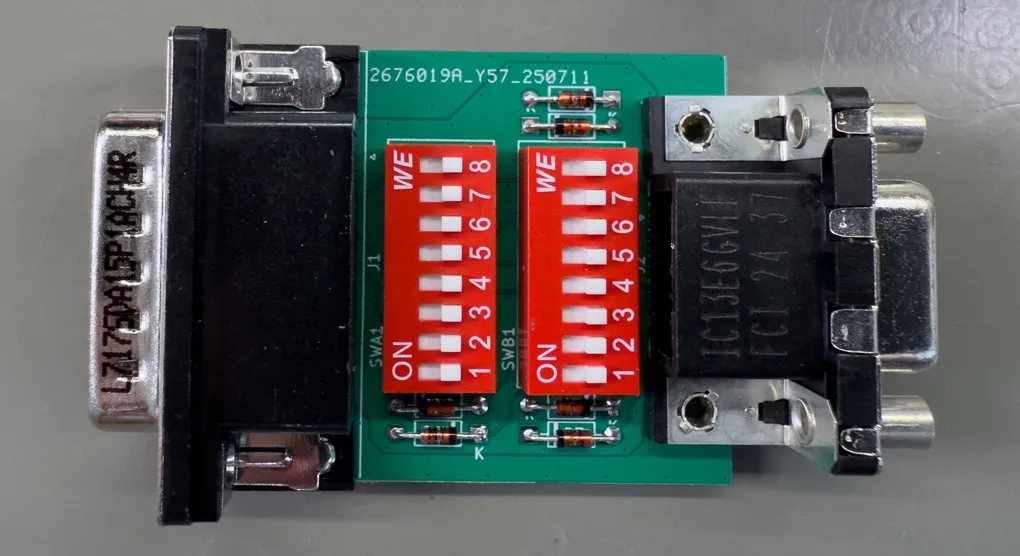
VGA Converter Assembled
Booting Up
I connected the hard drive and floppy drive and the VGA converter between the Mac and the monitor and powered up the computer. The Apple bong chimed out of the speaker and the hard drive spun up and started making the noises of a computer hunting for data.
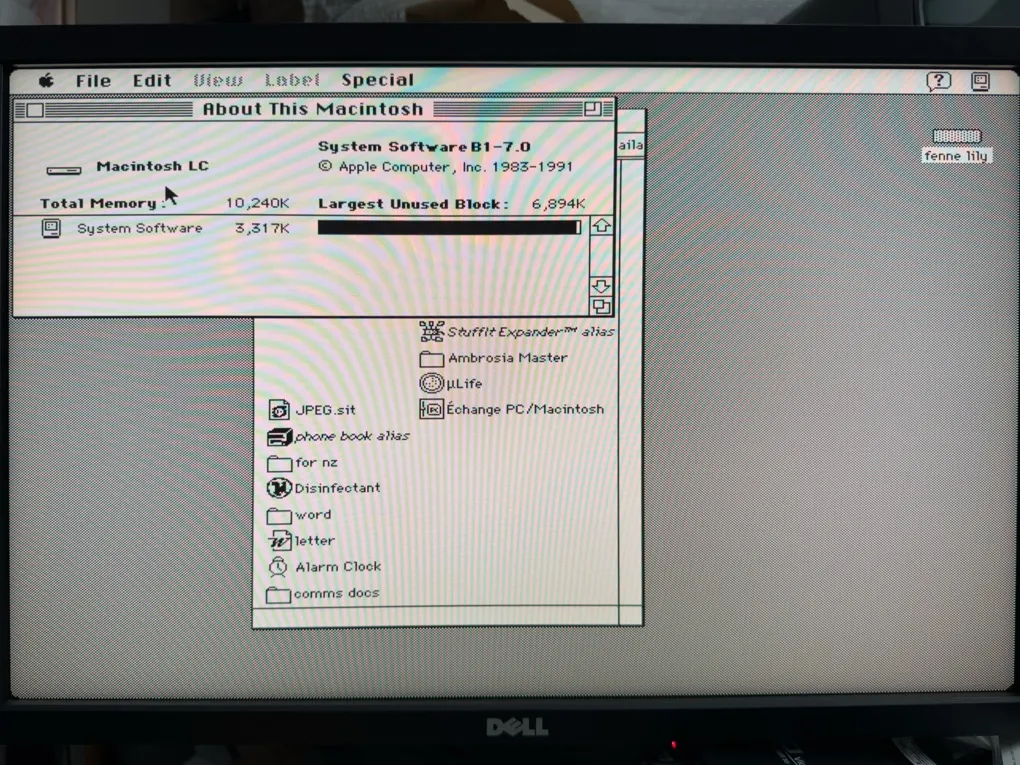
The machine successfully booted into Mac OS System 7, with the “About This Macintosh” window reporting 10,240K of memory, and System Software using 3,359K. Looking at the last accessed dates on some of the files showed that the Mac was last turned on in 1995.
Mac Running System 7.0
Once I knew that everything was working I formatted the hard drive and installed a fresh version of Mac OS System 7 which was included with the computer.
Cleaning and Retrobright Treatment
The case had yellowed, particularly along the top and front edges, typical of ageing ABS plastic. There were labels on the top of the case and a monitor had been put on top of the computer so some parts of the case had yellowed more than others. Since I had previously restored a Commodore Amiga 1200 using the retrobright method, I decided to do the same here, making use of the sunny summer weather.
In Need of a Clean
Steps:
- Removed the metal shielding from the case.
- Cleaned the surface with a nail brush and Cif cream cleaner.
- Applied 12% hydrogen peroxide cream (link) evenly across the plastic.
- Wrapped it in cling film to prevent drying out.
- Leave it in direct sunlight for three hours, rotating it every 30 minutes.
Once the plastic returned to its original shade, I removed the film and cleaned off the remaining peroxide. The transformation was impressive, the Mac LC case looked almost new.
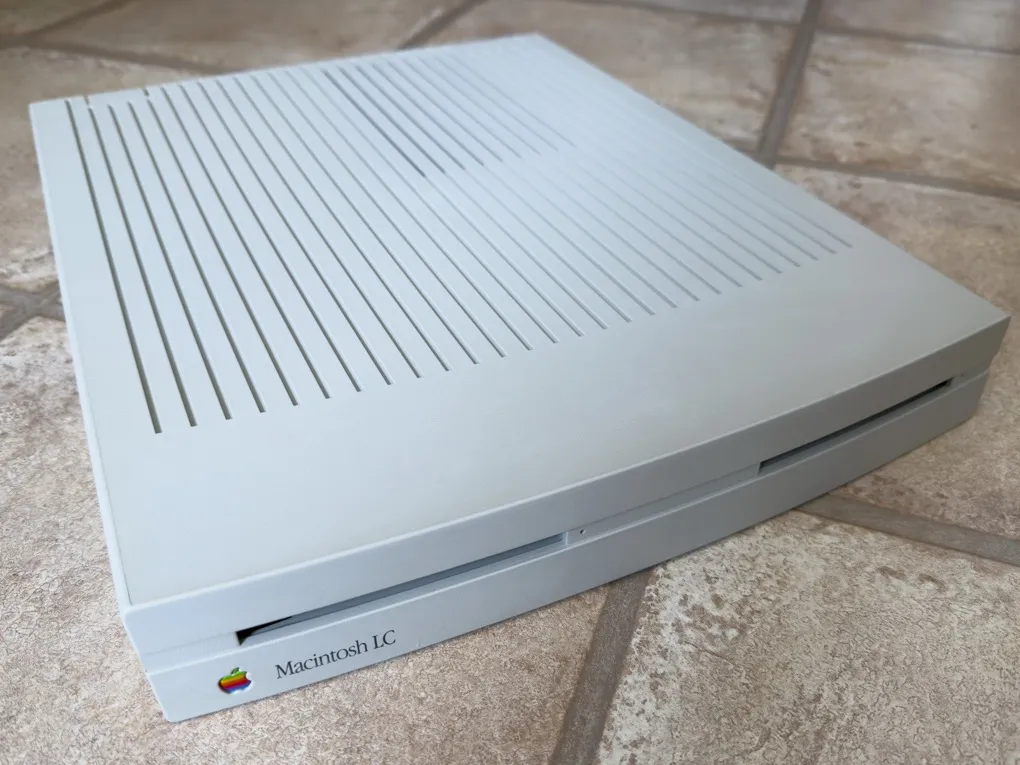
Back to its Original Colour
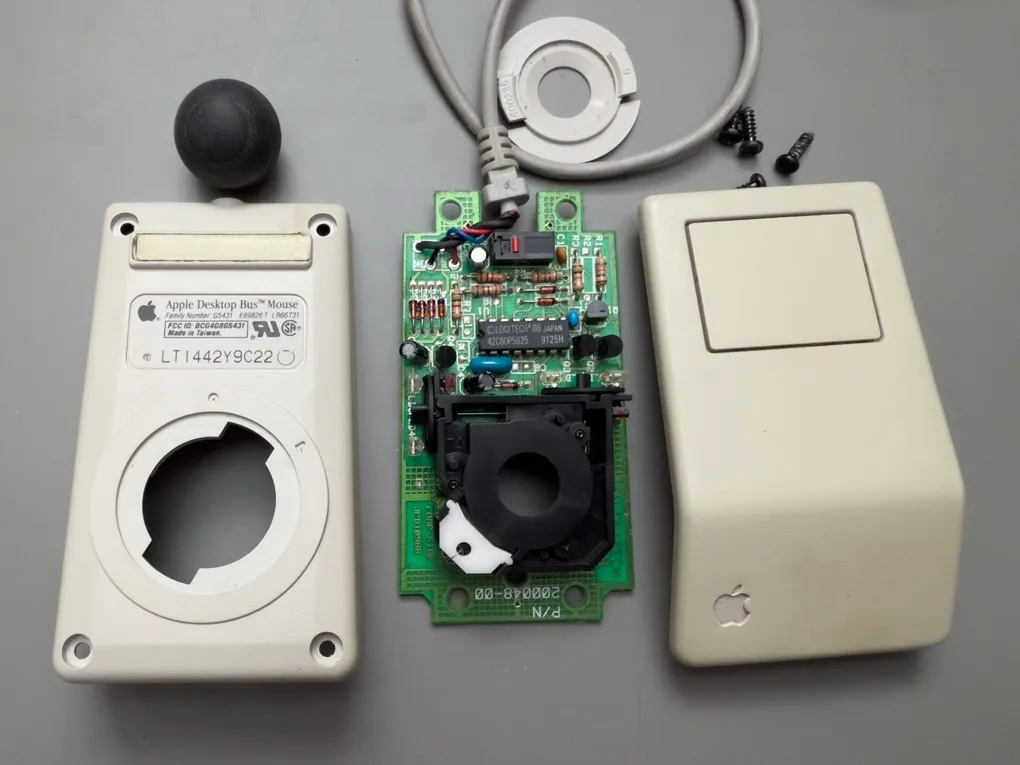
Restoring the Keyboard and Mouse
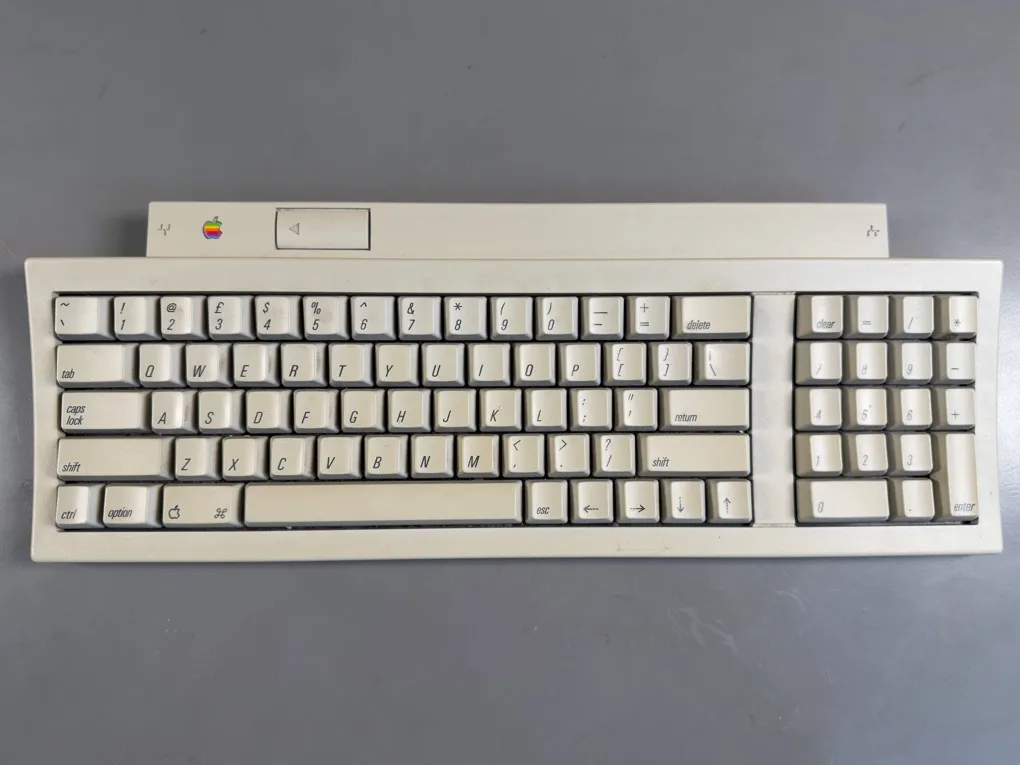
The Macintosh came with a Apple Keyboard II model keyboard.
Dirty Keyboard
The keyboard was almost identical to the original ADB Keyboard, but added flip-down feet to change the typing angle and a design change that gave the frame and keys a more streamlined appearance.
Internally, the M0487 differed from the original M0116, as the M0487 did not use mechanical key switches except for the Caps Lock button. They keys used a small rubber “hat” as a return spring.
The keyboard and mouse with the Macintosh LC both had yellowing on the plastic due to their age and a large amount of dirt on the surfaces.
Removing the top cover
Top top cover on the Apple Keyboard II is held in place with three screws along the front edge and plastic clips along the back edge.
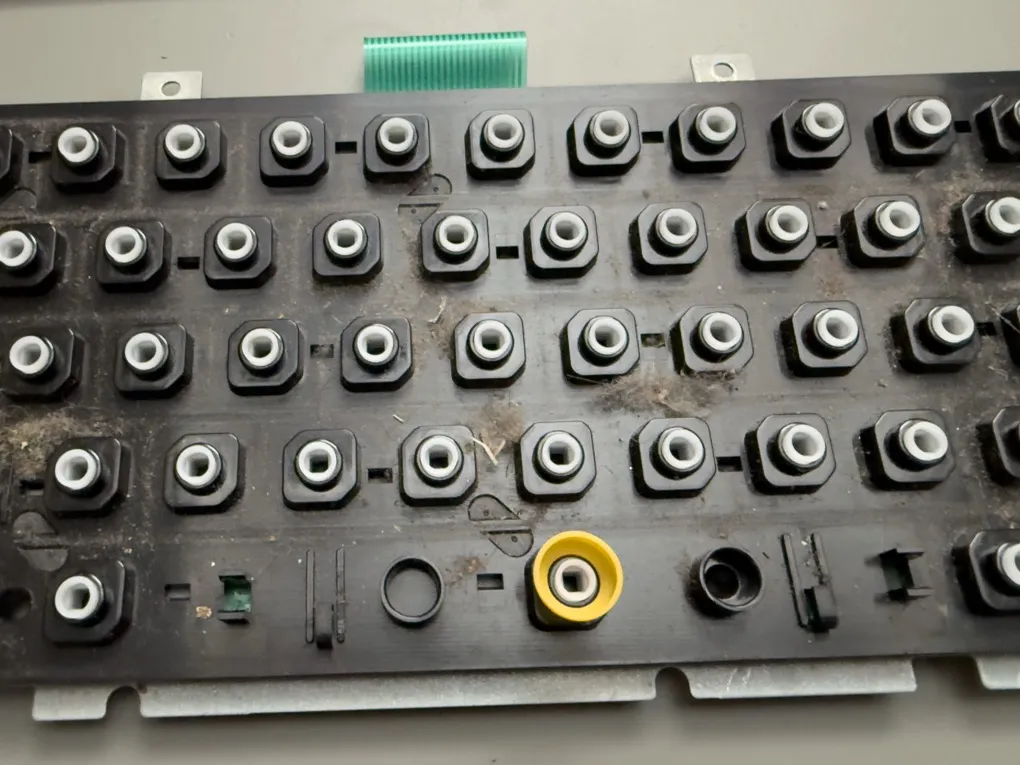
With the cover removed you can access the three screws which hold the keyboard mechanism and the controller circuit board. The keyboard is connected to the circuit board via a small flat-flex membrane cable which can be removed by carefully lifting the top of the white connector to release the cable.
Removing the key caps
The key caps are held in place using a small square pin which goes into the key switch plunger.
Using a key cap puller we carefully removed each key. Some keys required a lot of force to remove. The longer keys also have a small metal clip holding each key in place so you need to be careful not to damage this when removing the key caps.
With the key caps removed, this revealed the small rubber “top hats” which act as a return springs for the switches. The plastic housing for the key switches was covered in dirt and old hair so this was removed and the plastic cleaned using isopropyl alcohol.
Insides Need a Clean
Using the Retrobright process on the keyboard and mouse parts
I cleaned the mouse cover, key caps and keyboard case in hot soapy water and after they were dry they were placed on a sheet of acrylic and covered in peroxide cream. Cling film was wrapped over the keys and it was placed in the sun for several hours. I turned them every 30 minutes until the peroxide had reacted with the yellowed plastic and the cling film was removed and the parts cleaned to remove any remaining peroxide cream.
Mouse in Bits
After the parts had dried I found the process had removed nearly all traces of yellow from the plastic and restored its original colour. The space bar and a small section of the top cover had a small amount of blotching in the colour but this isn’t noticeable unless viewed very close.
The Amiga 1200 which I restored in 2015 has started to yellow again so for the Macintosh I decided to try an experiment. I coated the main case plastic with a spray coat of clear acrylic varnish, sealing it from the air. The keyboard and mouse were left with the plastic exposed to the air. Both parts will be stored in their original box so I will be able to compare the varnished plastic and clean plastic over time and see if there is any difference in the yellowing process.
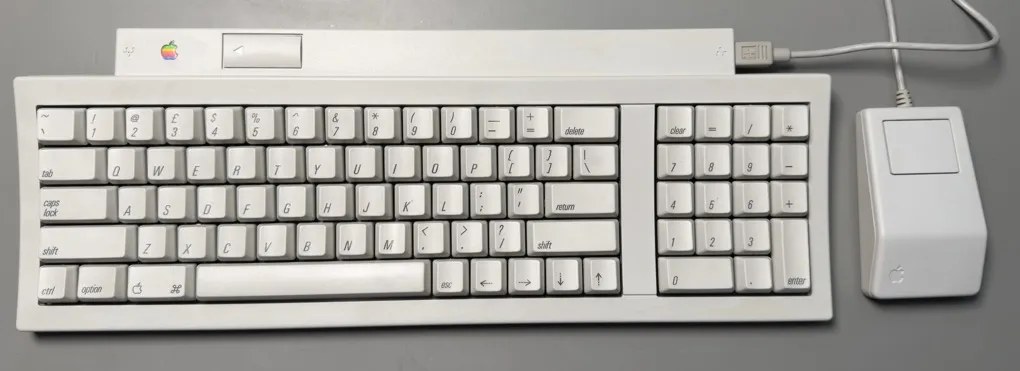
White Keyboard and Mouse
With all the keyboard and mouse parts clean they were reassembled and tested with the computer.
Next Steps
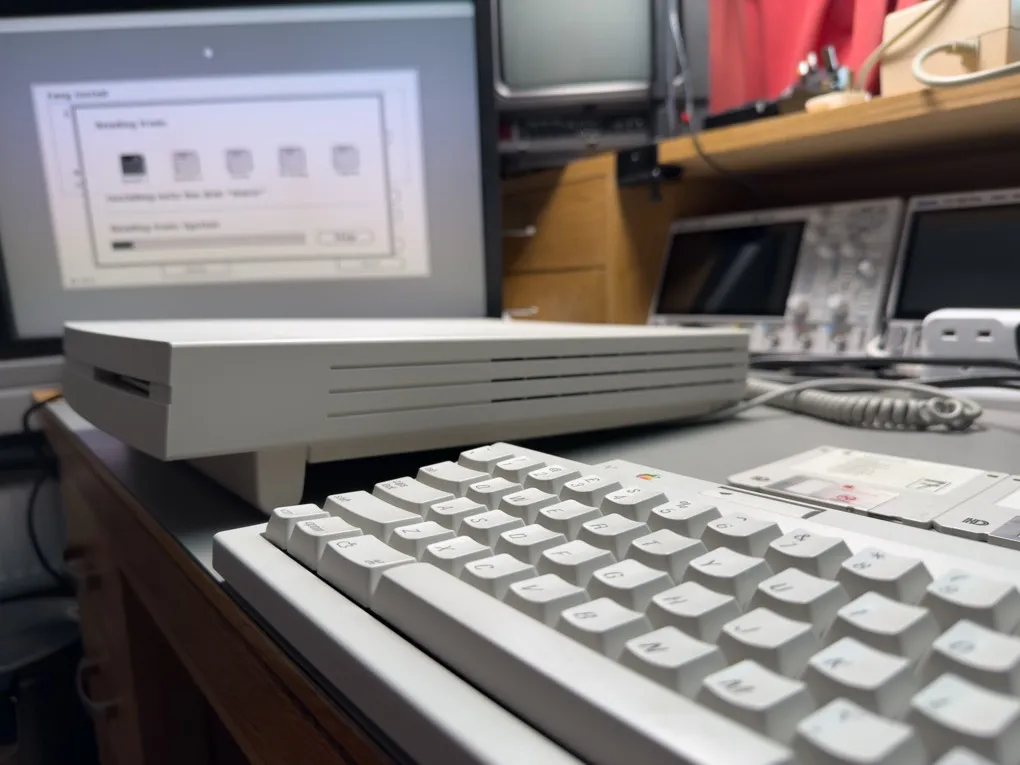
Apple Macintosh LC Running
Restoring this classic Macintosh LC has been an enjoyable journey back into early '90s computing. I was using an Amiga during the period when this Mac was released and my first Apple Mac was one of the early all in one iMac models that came with OS X so this was my first experience with older Mac operating systems.
There are still a few issues that I have to sort out before I can use this Mac properly.
At the moment, I don’t have a method for backing up the SCSI hard drive and the 40Mb drive size is quite limiting as half of that is taken up by the operating system. One possible option is to purchase a BlueSCSI, an open-source project that replaces old SCSI drives with an SD card (bluescsi.com).
I also need to find a way of getting software onto the Macintosh. The computer came with some System 7 floppy images that I managed to successfully use to reinstall the OS. I tried copying files to the Mac using PC formatted floppy disks with limited success, but that only works for files smaller than 1.4Mb and archived files using the SIT format failed to open on the Mac so I need to find another method for copying files.
The Mac came with a few floppy disks containing applications like stuffit and zterm so using the serial port to transfer files may be an option worth exploring.
Capturing the Mac’s VGA signal digitally is another challenge. I ordered a VGA-to-HDMI converter from Amazon, but unfortunately, it didn’t work, either due to resolution incompatibilities or a faulty adapter. Testing the converter with a Windows laptop also didn’t work, so further troubleshooting is needed.